Inside this Article:
10 Ways to Setup Your Outdoor Living Space
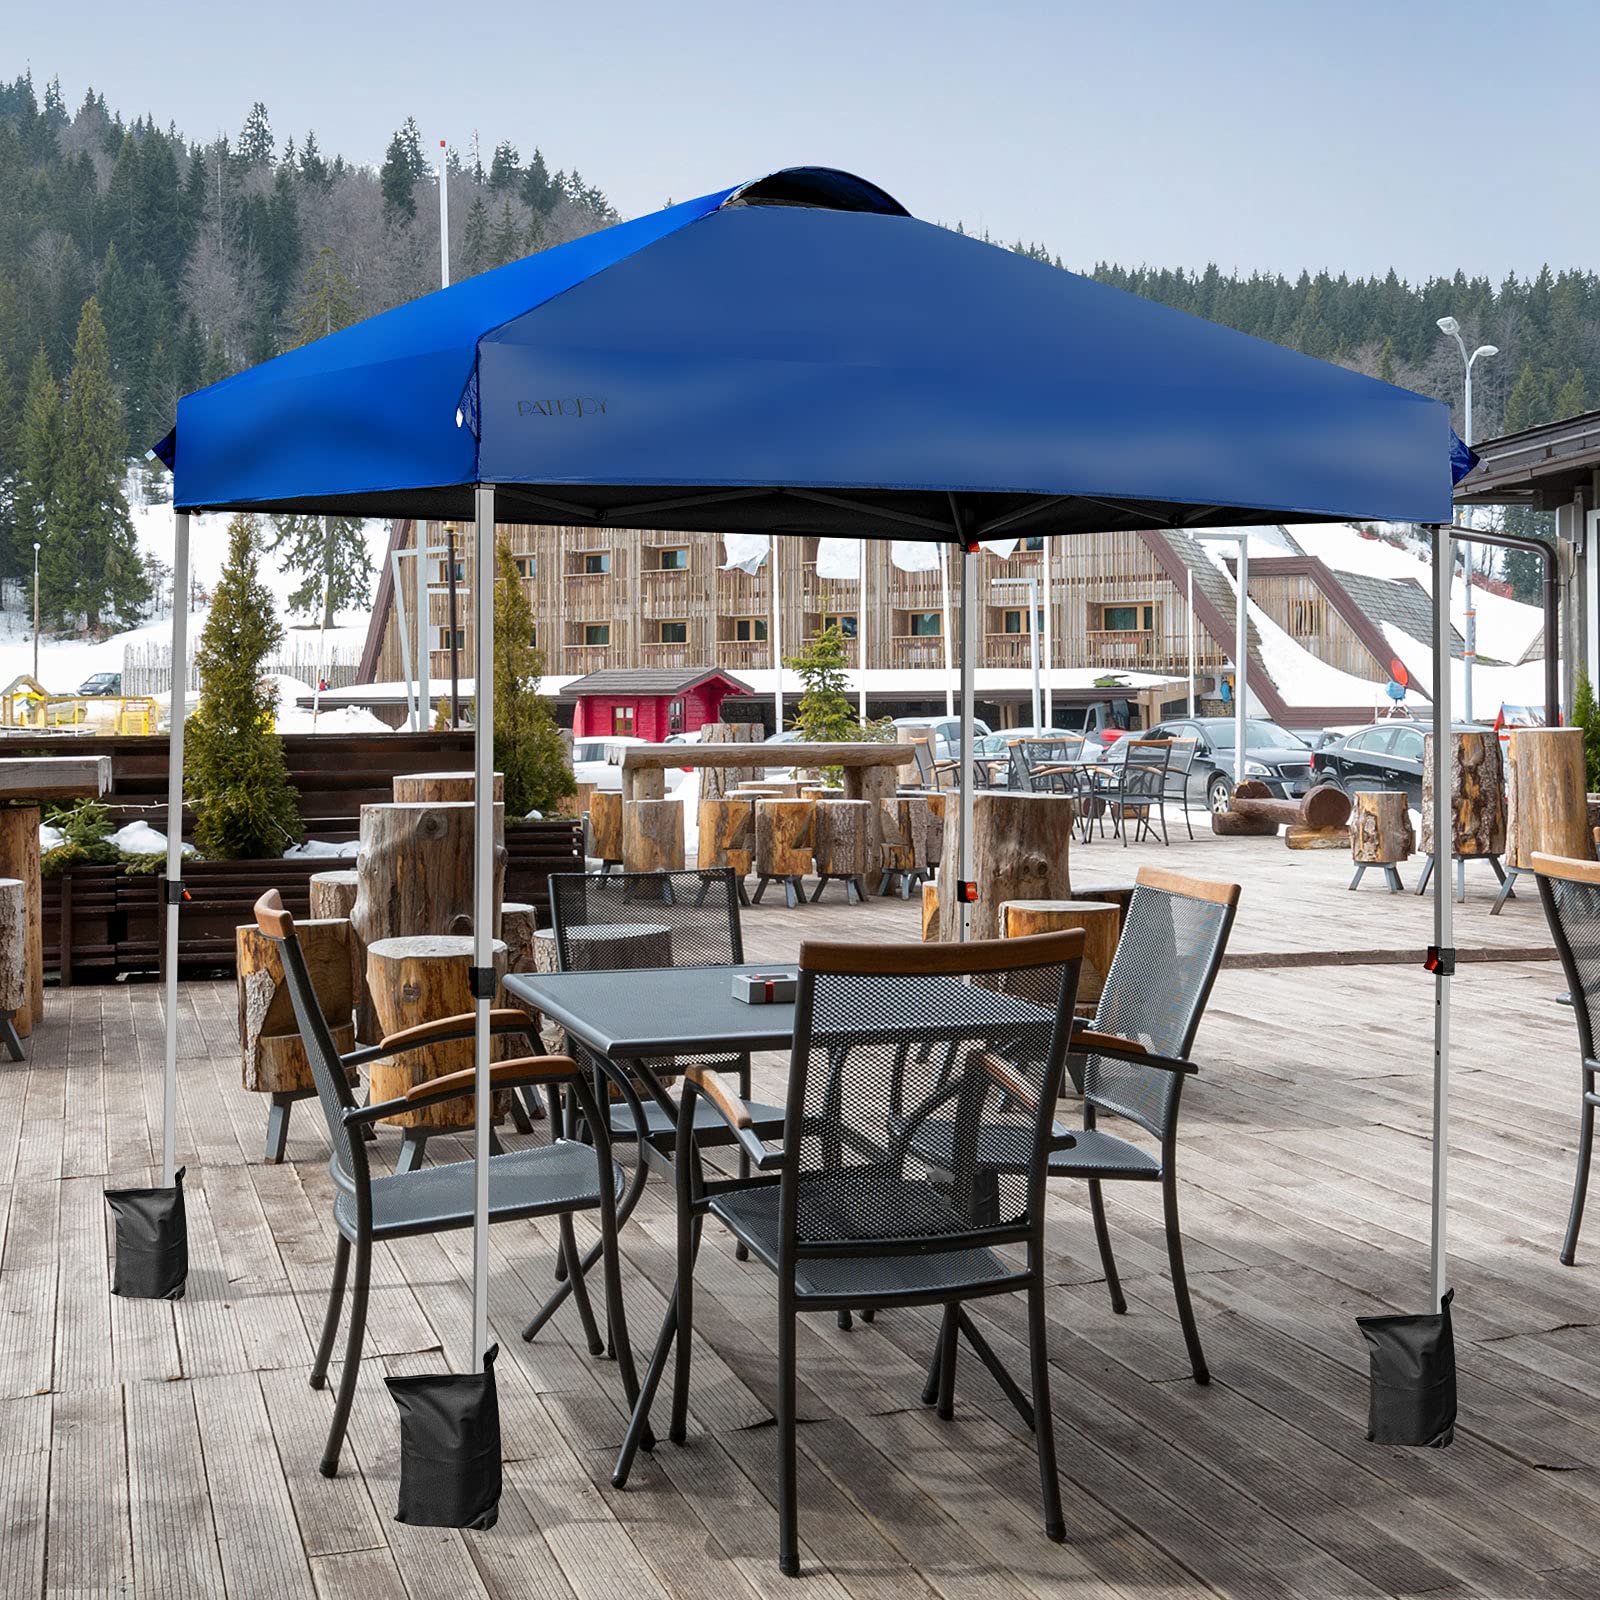
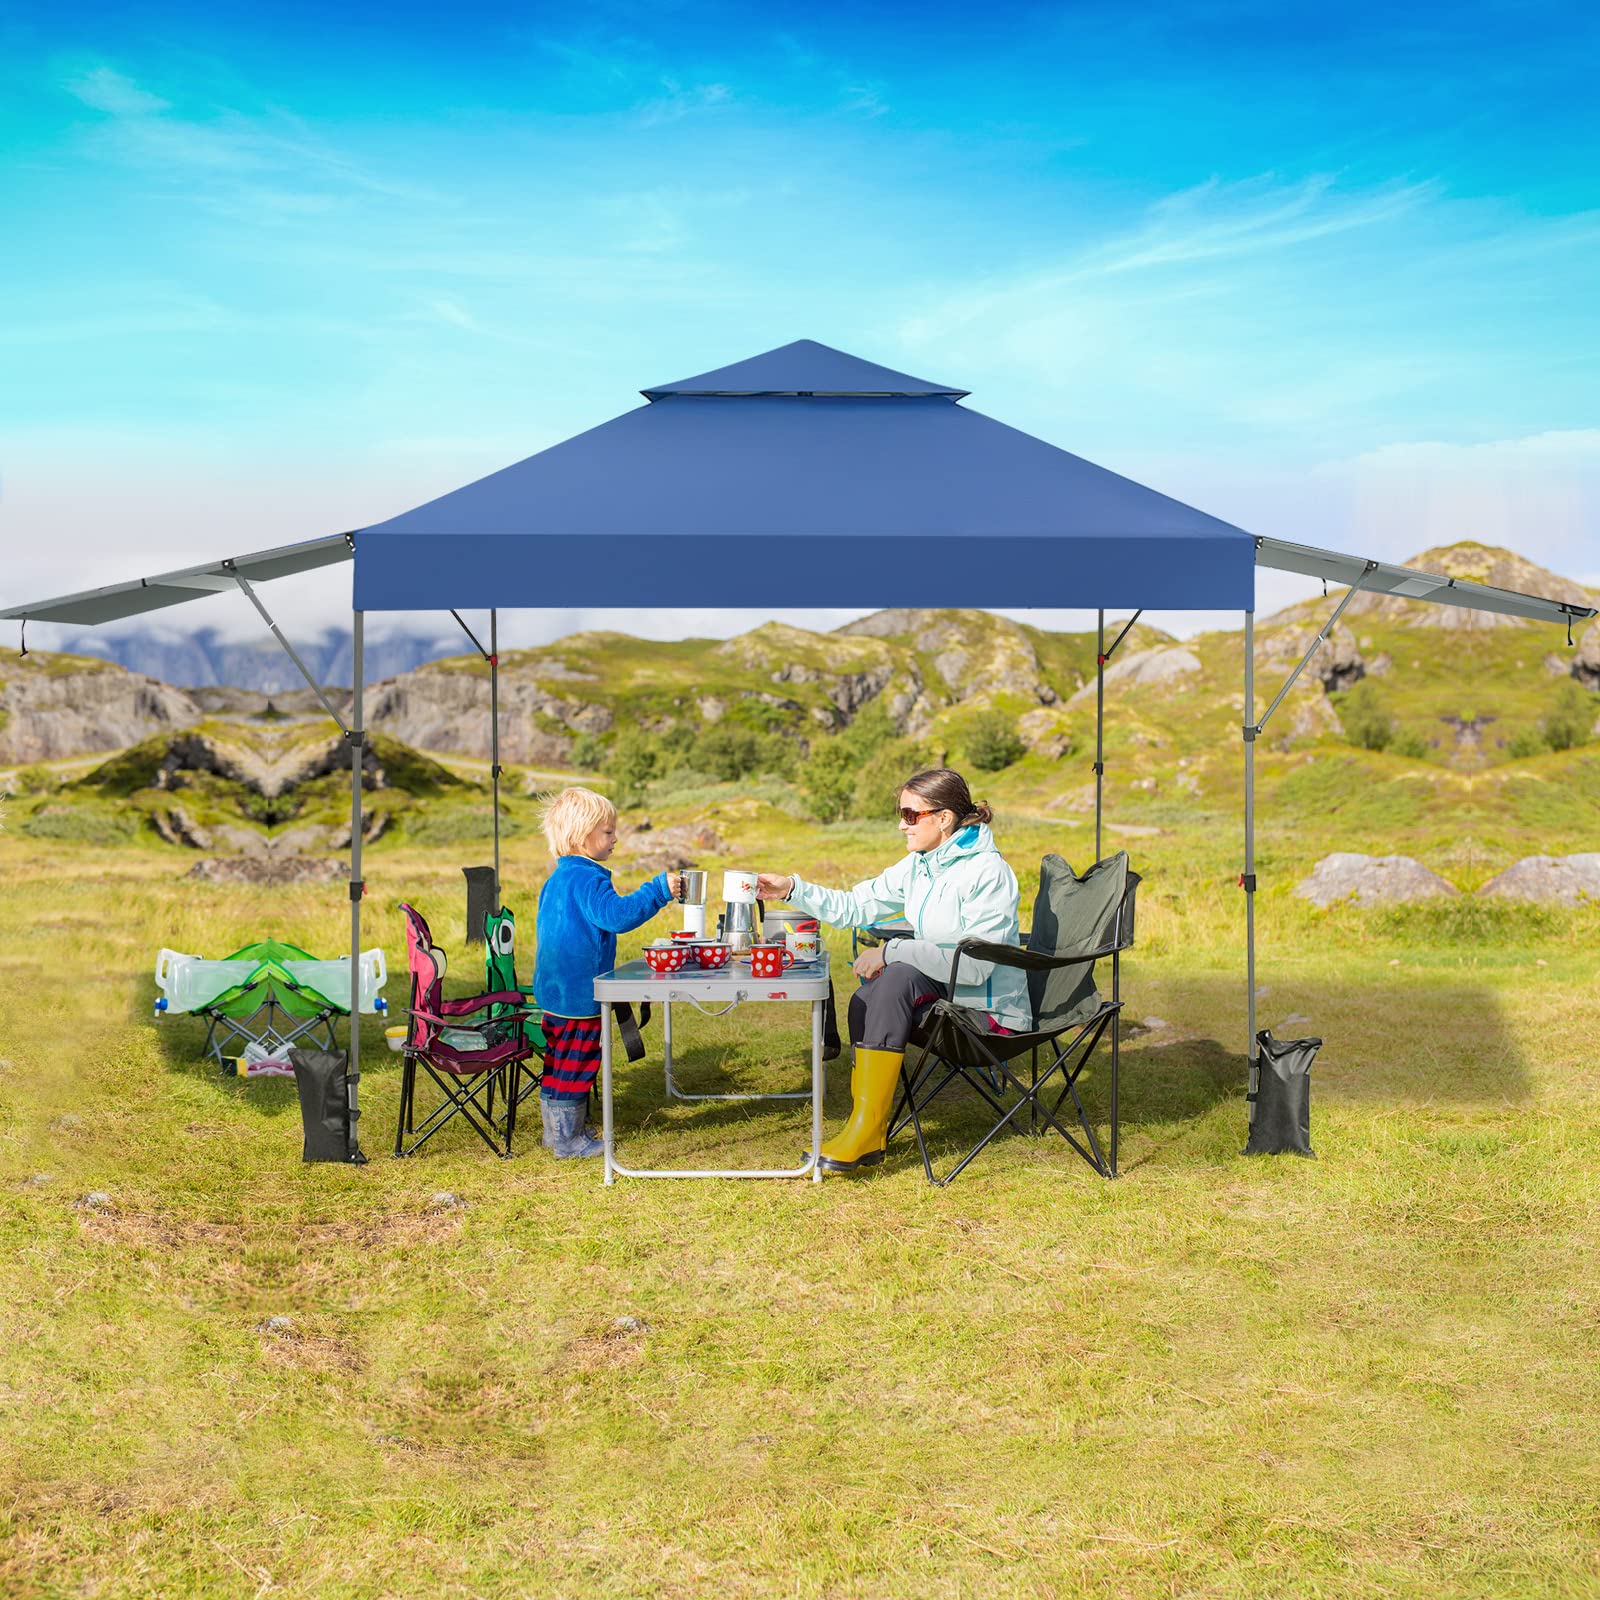
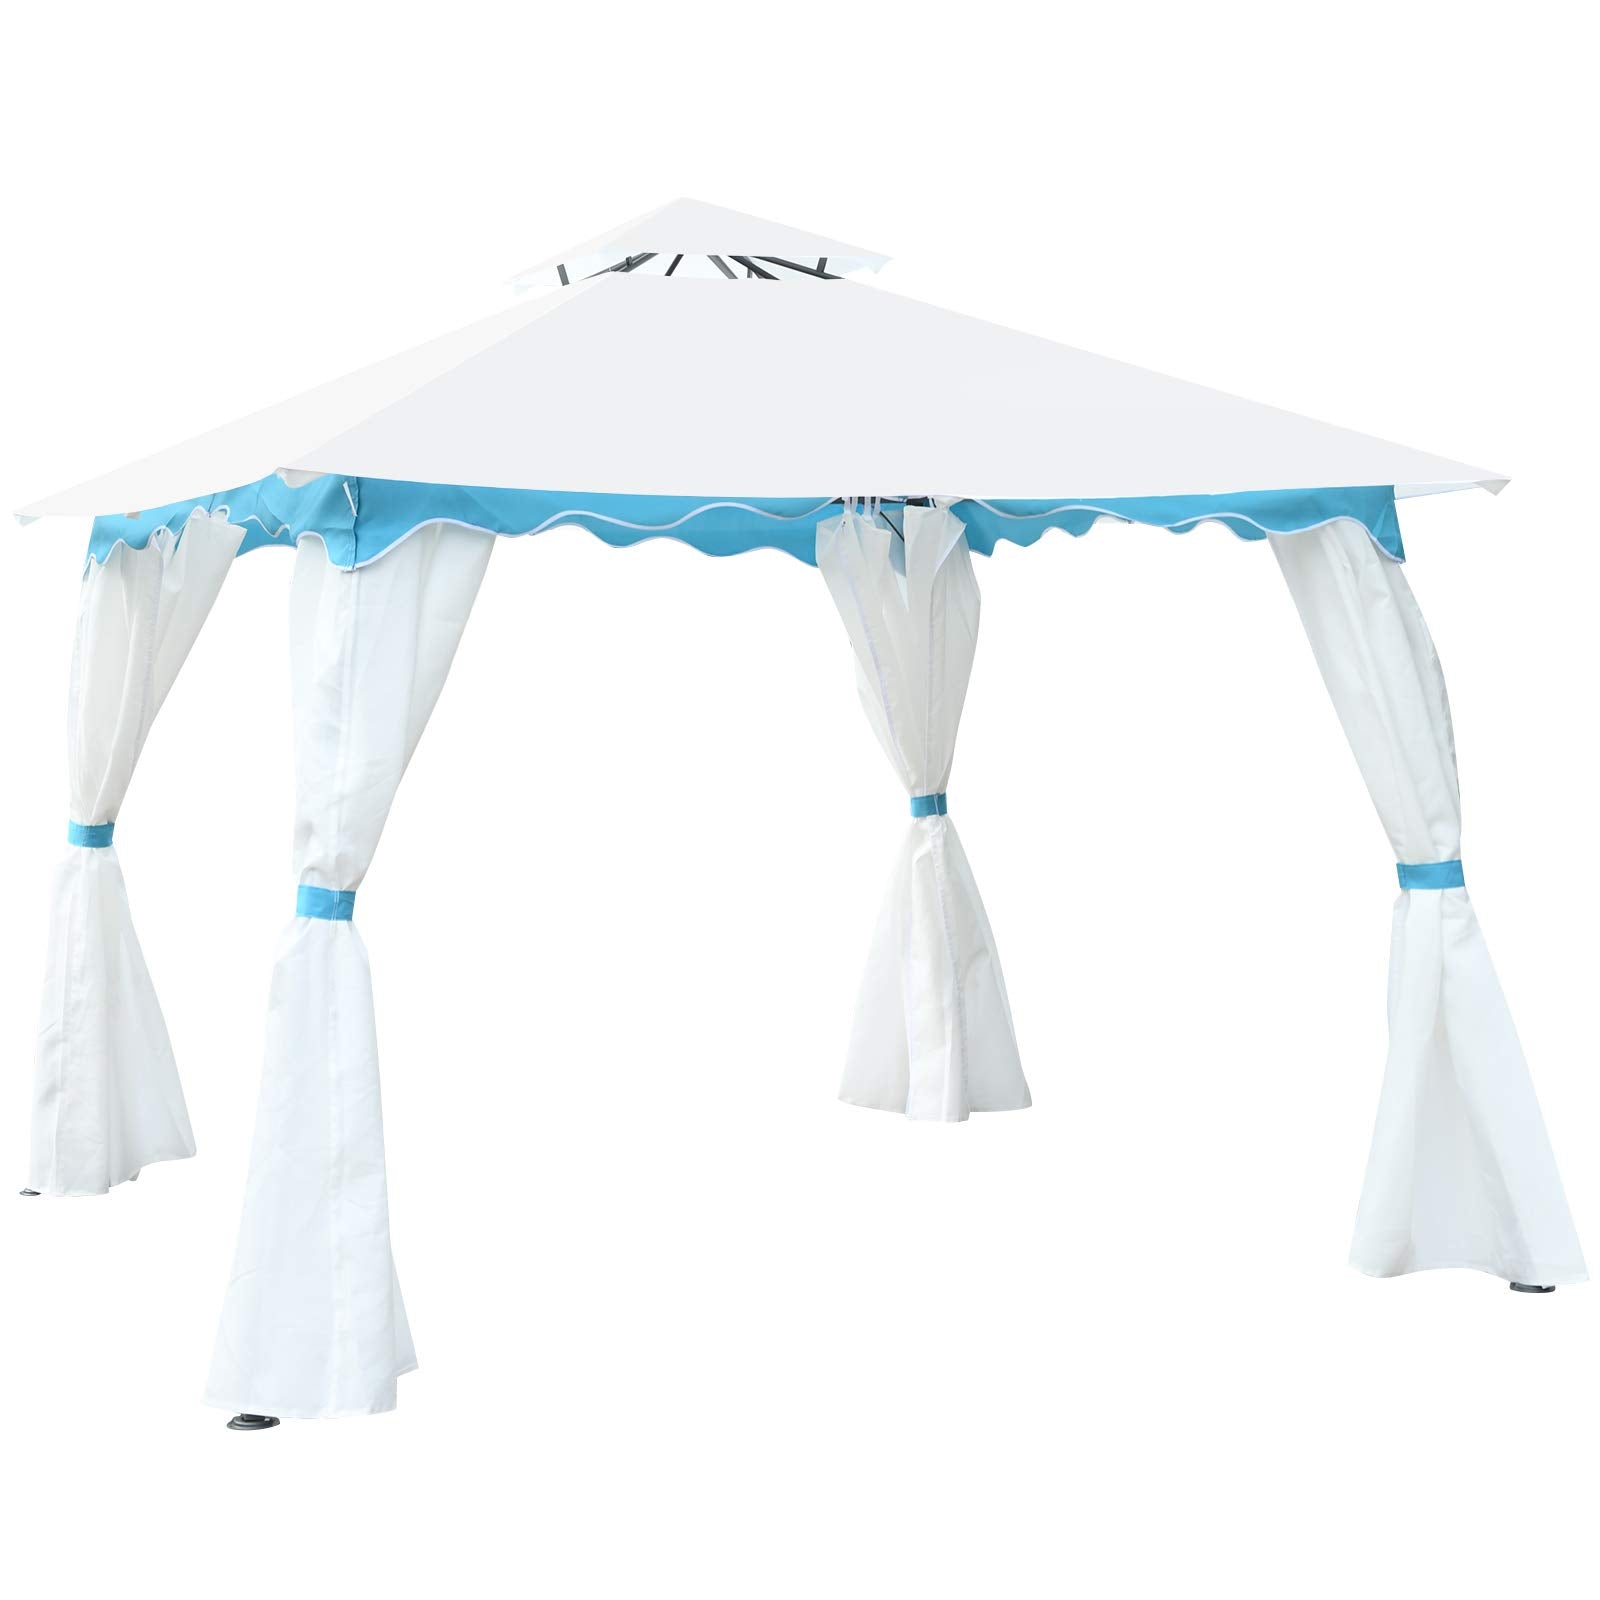
The winter is passing, and it’s time to consider your elegant outdoor living on sunny days for the seating area. Listed below are the most important things about the canopy tent setup. If you’re planning to select heavy duty patio covers, the following article provides buying guides and patio canopy ideas for you. If you've chosen a shade canopy but don't know how to set it up, this article will assist you.
- Ultimate Buying Guide of Patio Gazebos for Your Backyards
- Backyard Gazebo Ideas for Your Outdoor Living——Tangkula
We think that the canopy setup has 10 steps. Here are the detailed steps for you to follow:
1. Choose the Right Location
Select a suitable location for your gazebo canopy. Ensure it's a flat surface and has enough space for the canopy size you have.
Flat Surface:
- The flat and even surface ensures stability.
- Avoid slopes or uneven terrain that can make it challenging to set up the canopy.
Clear of Obstacles:
- Choose a location that is free from obstacles such as trees, bushes, or structures.
- Ensure there's enough clearance around the canopy to prevent damage from branches or other elements.
Sun Exposure:
- Consider the position of the sun throughout the day.
- To have shade, position the sun shade canopy where it will give the desired shade during the time you intend to use it most.
Wind Direction:
- Be mindful of the prevailing wind direction in your area.
- Arrange the canopy to shield it from wind or position it for airflow without instability.
Proximity to Amenities:
- Choose a location that is convenient to access from your home.
- Consider proximity to amenities like a kitchen, restroom, or outdoor seating area for added convenience.
Ground Cover:
- Check the ground cover of the chosen area.
- Clear any debris, rocks, or sharp objects that could damage the pergola canopy or make the area uncomfortable.
Privacy:
- If privacy is a concern, position the canopy away from direct view lines.
- Use the canopy to create a more secluded and intimate space in your backyard.
Local Regulations:
- Check local regulations or homeowner association rules regarding the placement of patio shade canopy in your backyard.
- Ensure compliance with any restrictions or guidelines.
Future Considerations:
- Think about any plans for your backyard.
- Avoid placing the patio canopy where it might interfere with potential future projects or landscaping changes.
2. Prepare the Ground
Clear the Area:
- Remove any debris, rocks, or sticks from the ground where you plan to set up the canopy.
- Clear the area of any potential tripping hazards.
Level the Ground:
- If the ground is uneven, use a rake or shovel to level it.
- Create a smooth surface to prevent the canopy from tilting or wobbling.
Address Soft Soil:
- If the ground is soft, consider adding a layer of gravel or sand to provide a more stable base.
- This helps prevent the canopy legs from sinking into the ground.
Use Ground Cover:
- Lay down a ground cover or tarp before setting up the canopy for patio.
- This provides an additional barrier between the canopy and the ground, protecting the fabric and making cleanup easier.
Consider Flooring Options:
If you plan to spend extended periods under the canopy, consider adding flooring options like outdoor rugs, interlocking tiles, or a temporary deck.
This enhances comfort and protects against mud or wet ground.
Stabilize with Weights or Stakes:
- If your canopy comes with stakes, use them to anchor the canopy to the ground.
- Drive stakes at a 45-degree angle away from the canopy legs to enhance stability.
- Alternatively, use weights on each leg to secure the canopy.
Account for Drainage:
- Ensure that the ground has proper drainage to prevent water from pooling around the canopy.
- If needed, create slight slopes away from the canopy area to direct water away.
Check for Underground Utilities:
- Before digging or driving stakes into the ground, check for the presence of underground utilities.
- Avoid damaging pipes or cables by contacting relevant authorities for utility line location services.
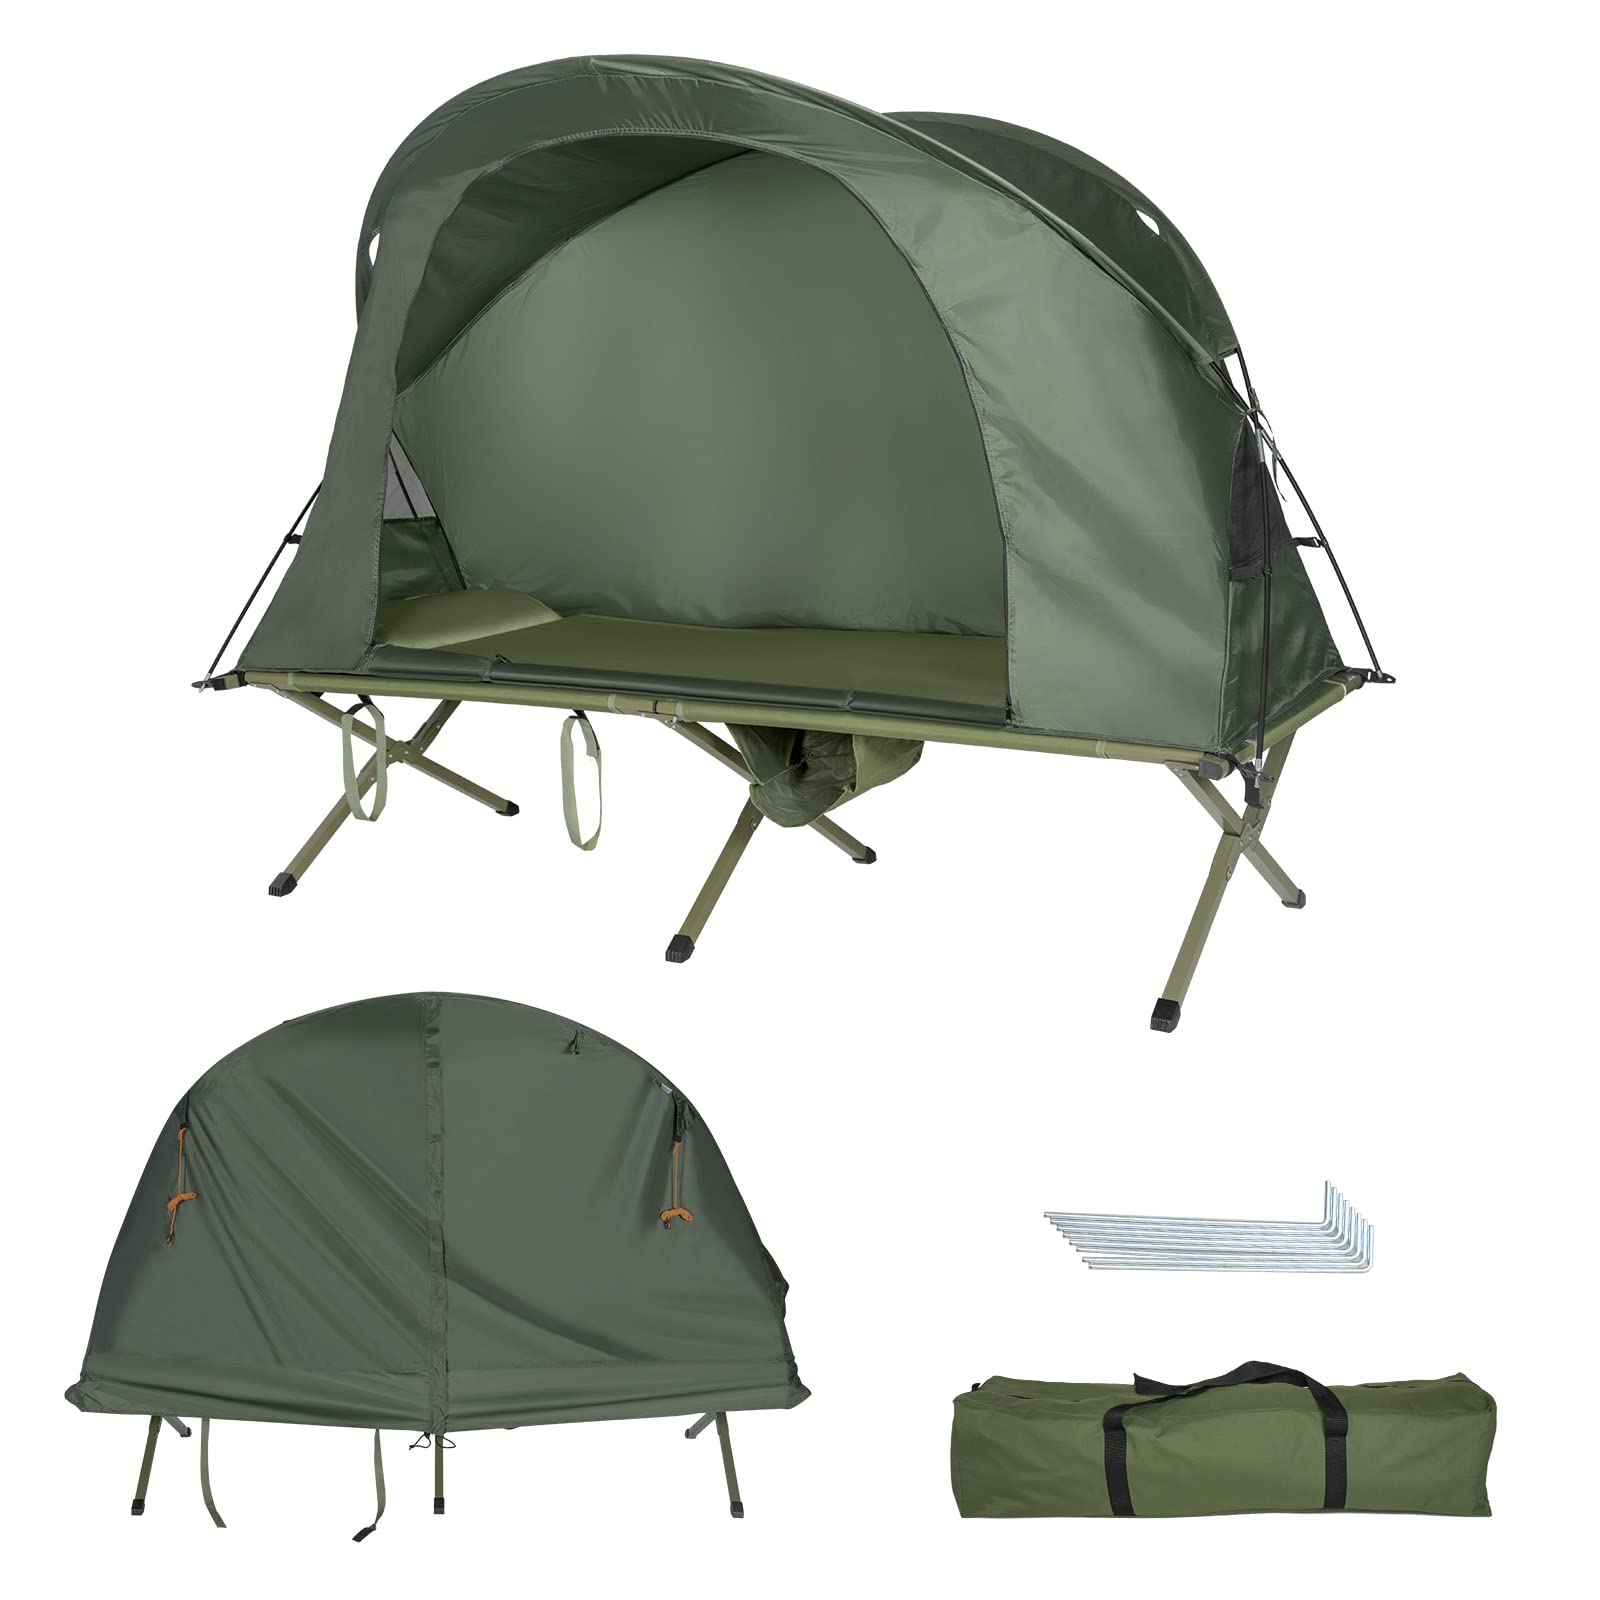
3. Unpack the Canopy
Follow these steps for a smooth unpacking process, preventing damage to the canopy parts and making assembly easier.
Choose a Suitable Unpacking Area:
- Select a flat and open area with enough space to lay out all the canopy components.
- Make sure the area is clean and free of any sharp objects.
Inspect the Packaging:
- Carefully inspect the packaging for any signs of damage during shipping.
- If there are visible damages or if the packaging appears compromised, document it and contact the seller or manufacturer.
Gather Necessary Tools:
- Depending on the canopy type, you may need tools like scissors or a box cutter to open the packaging.
- Ensure you have the necessary tools before starting the unpacking process.
Follow the Manual Instructions:
- Refer to the instruction manual provided by the manufacturer.
- The manual will often have specific guidelines for unpacking, including any precautions or special instructions.
Open the Box or Bag:
- Carefully open the packaging, starting with the box or bag.
- Use scissors or a box cutter to cut through any tape or seals.
Lay Out Components:
- Once the box is open, lay out all the components on the ground.
- Identify the frame pieces, canopy fabric, stakes, and any additional accessories.
Inspect for Damages:
- Inspect each component for damages or defects.
- Pay special attention to the frame, fabric, and any connectors.
- Report any issues to the seller or manufacturer as per their guidelines.
Check for Missing Parts:
- Compare the components with the list provided in the instruction manual.
- Ensure that all the necessary parts are present.
- If any parts are missing, contact the manufacturer for replacements.
Organize Components:
- Group similar components together for easy assembly.
- Store small parts, such as screws or connectors, in a secure place to prevent losing them.
Dispose of Packaging Responsibly:
- Dispose of the packaging material responsibly, following local recycling guidelines.
- Keep the instruction manual in a safe place for reference during assembly.
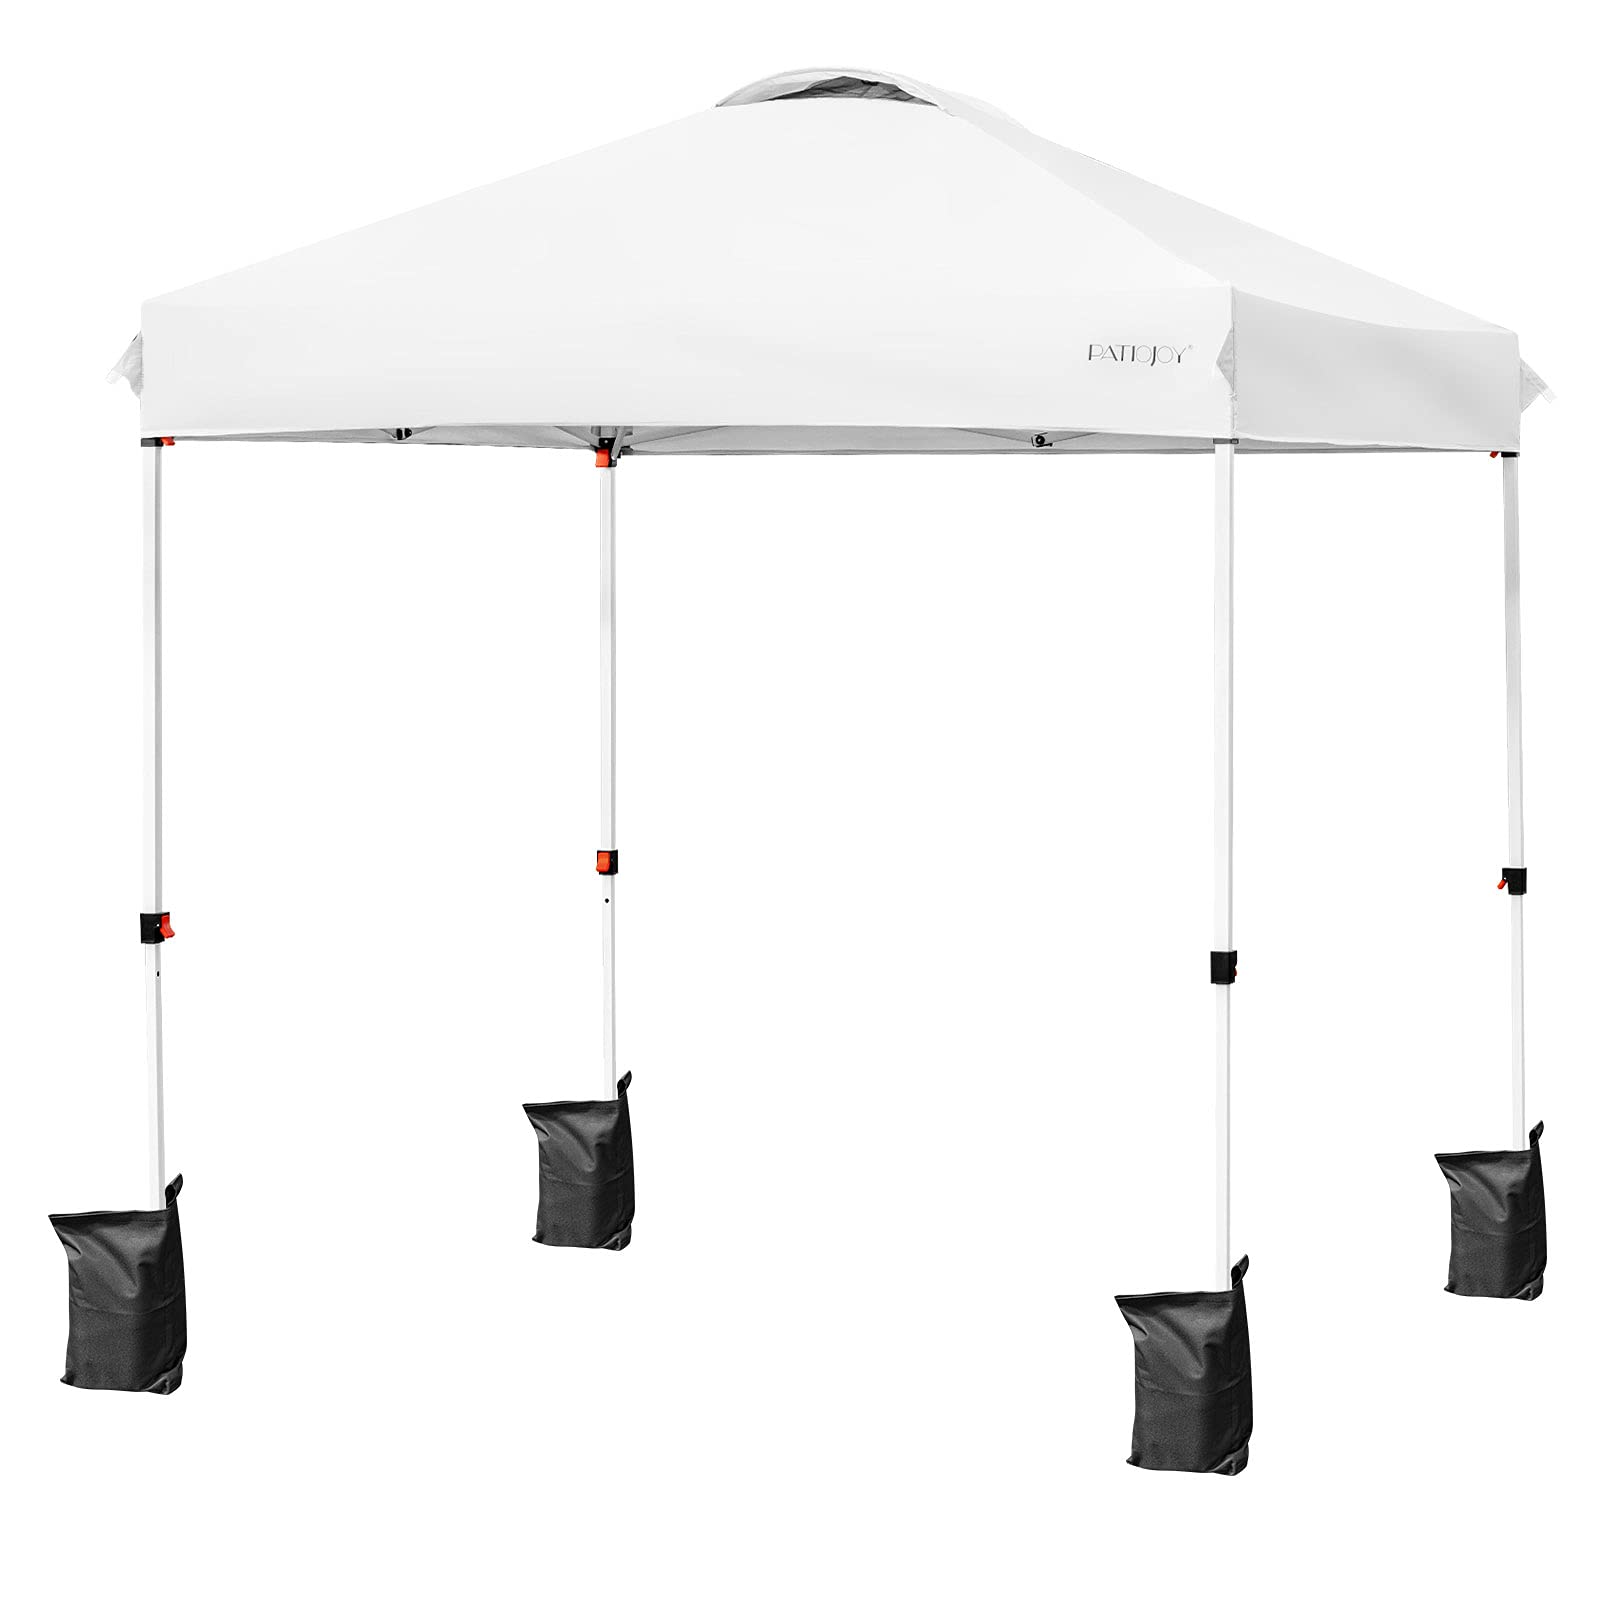
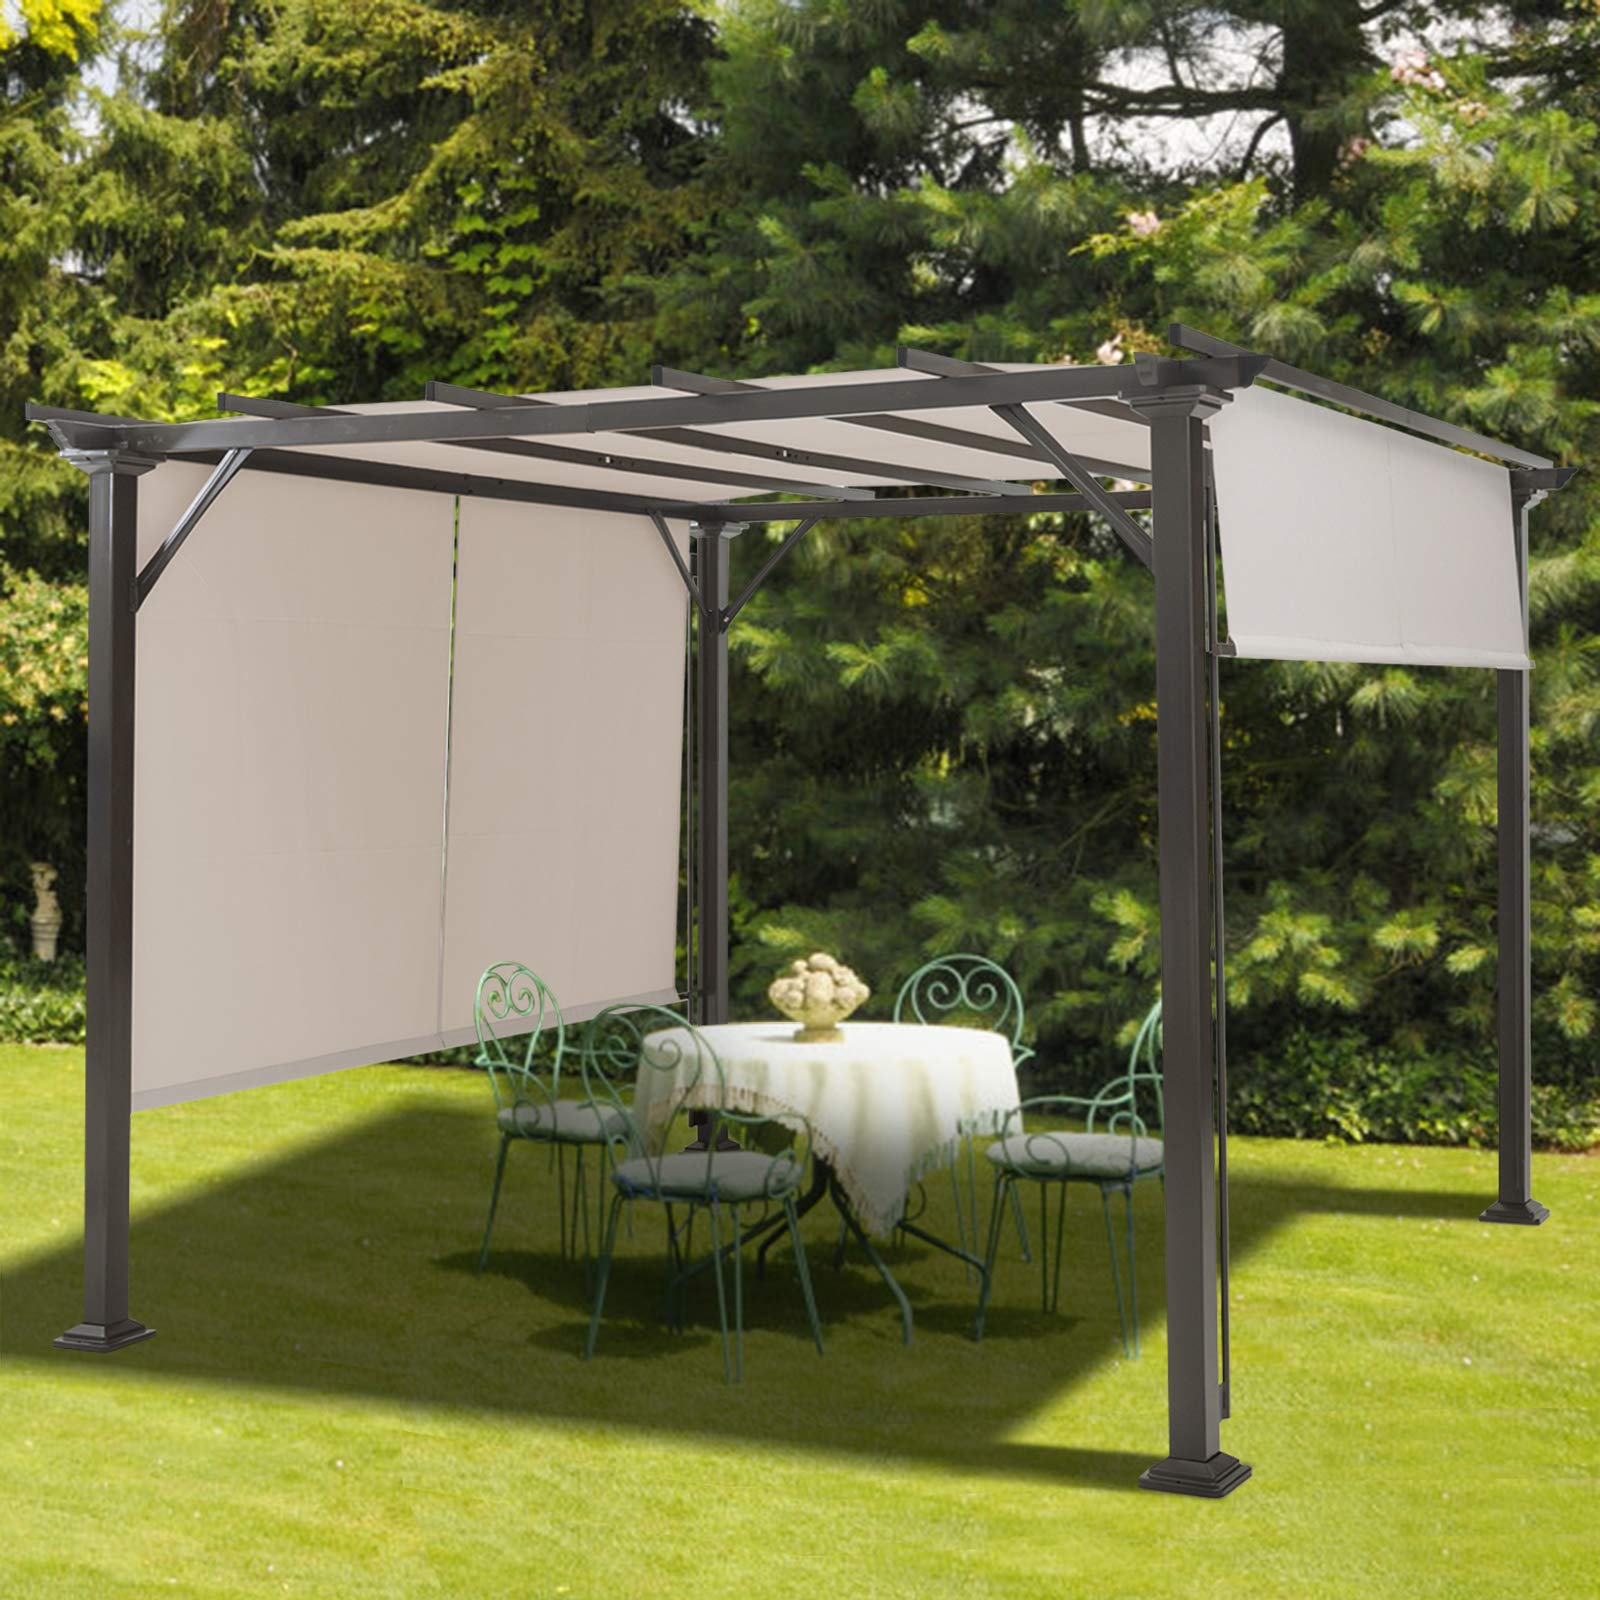
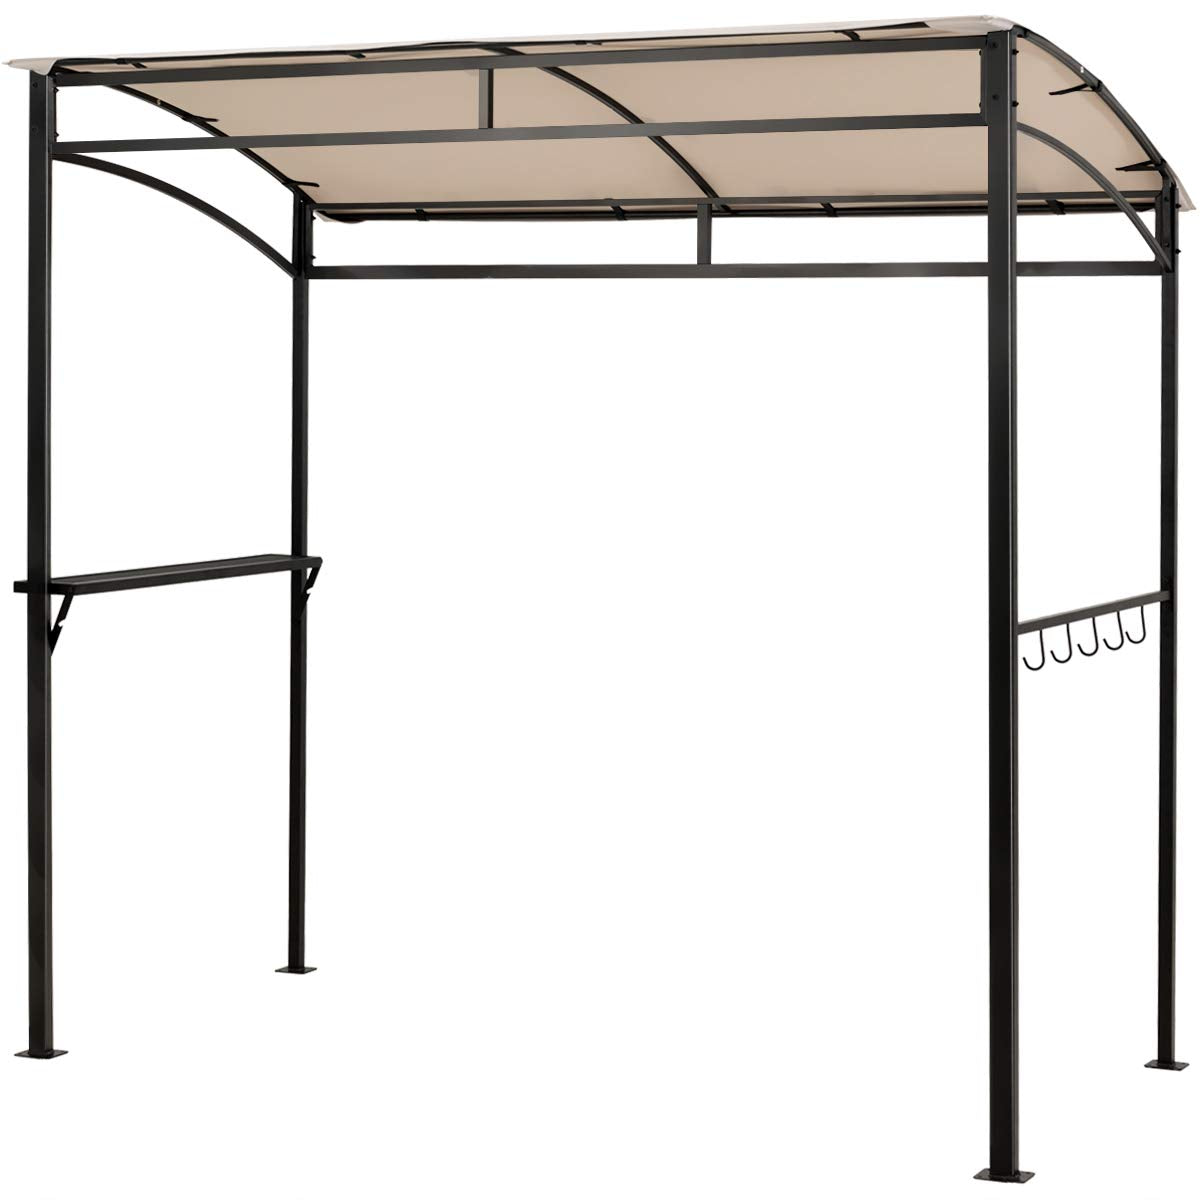
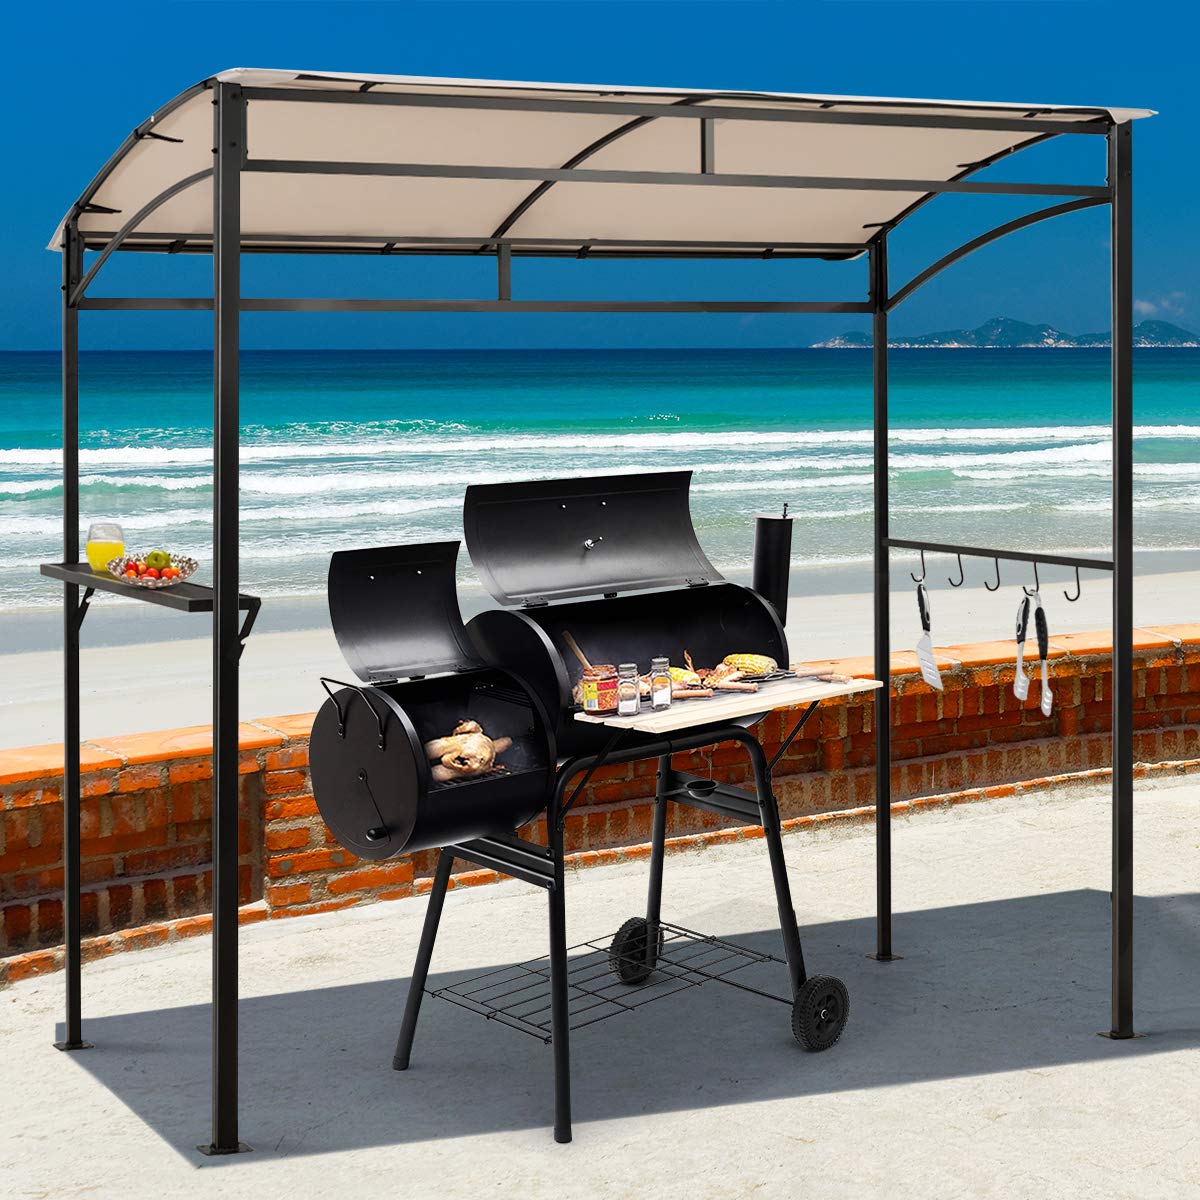
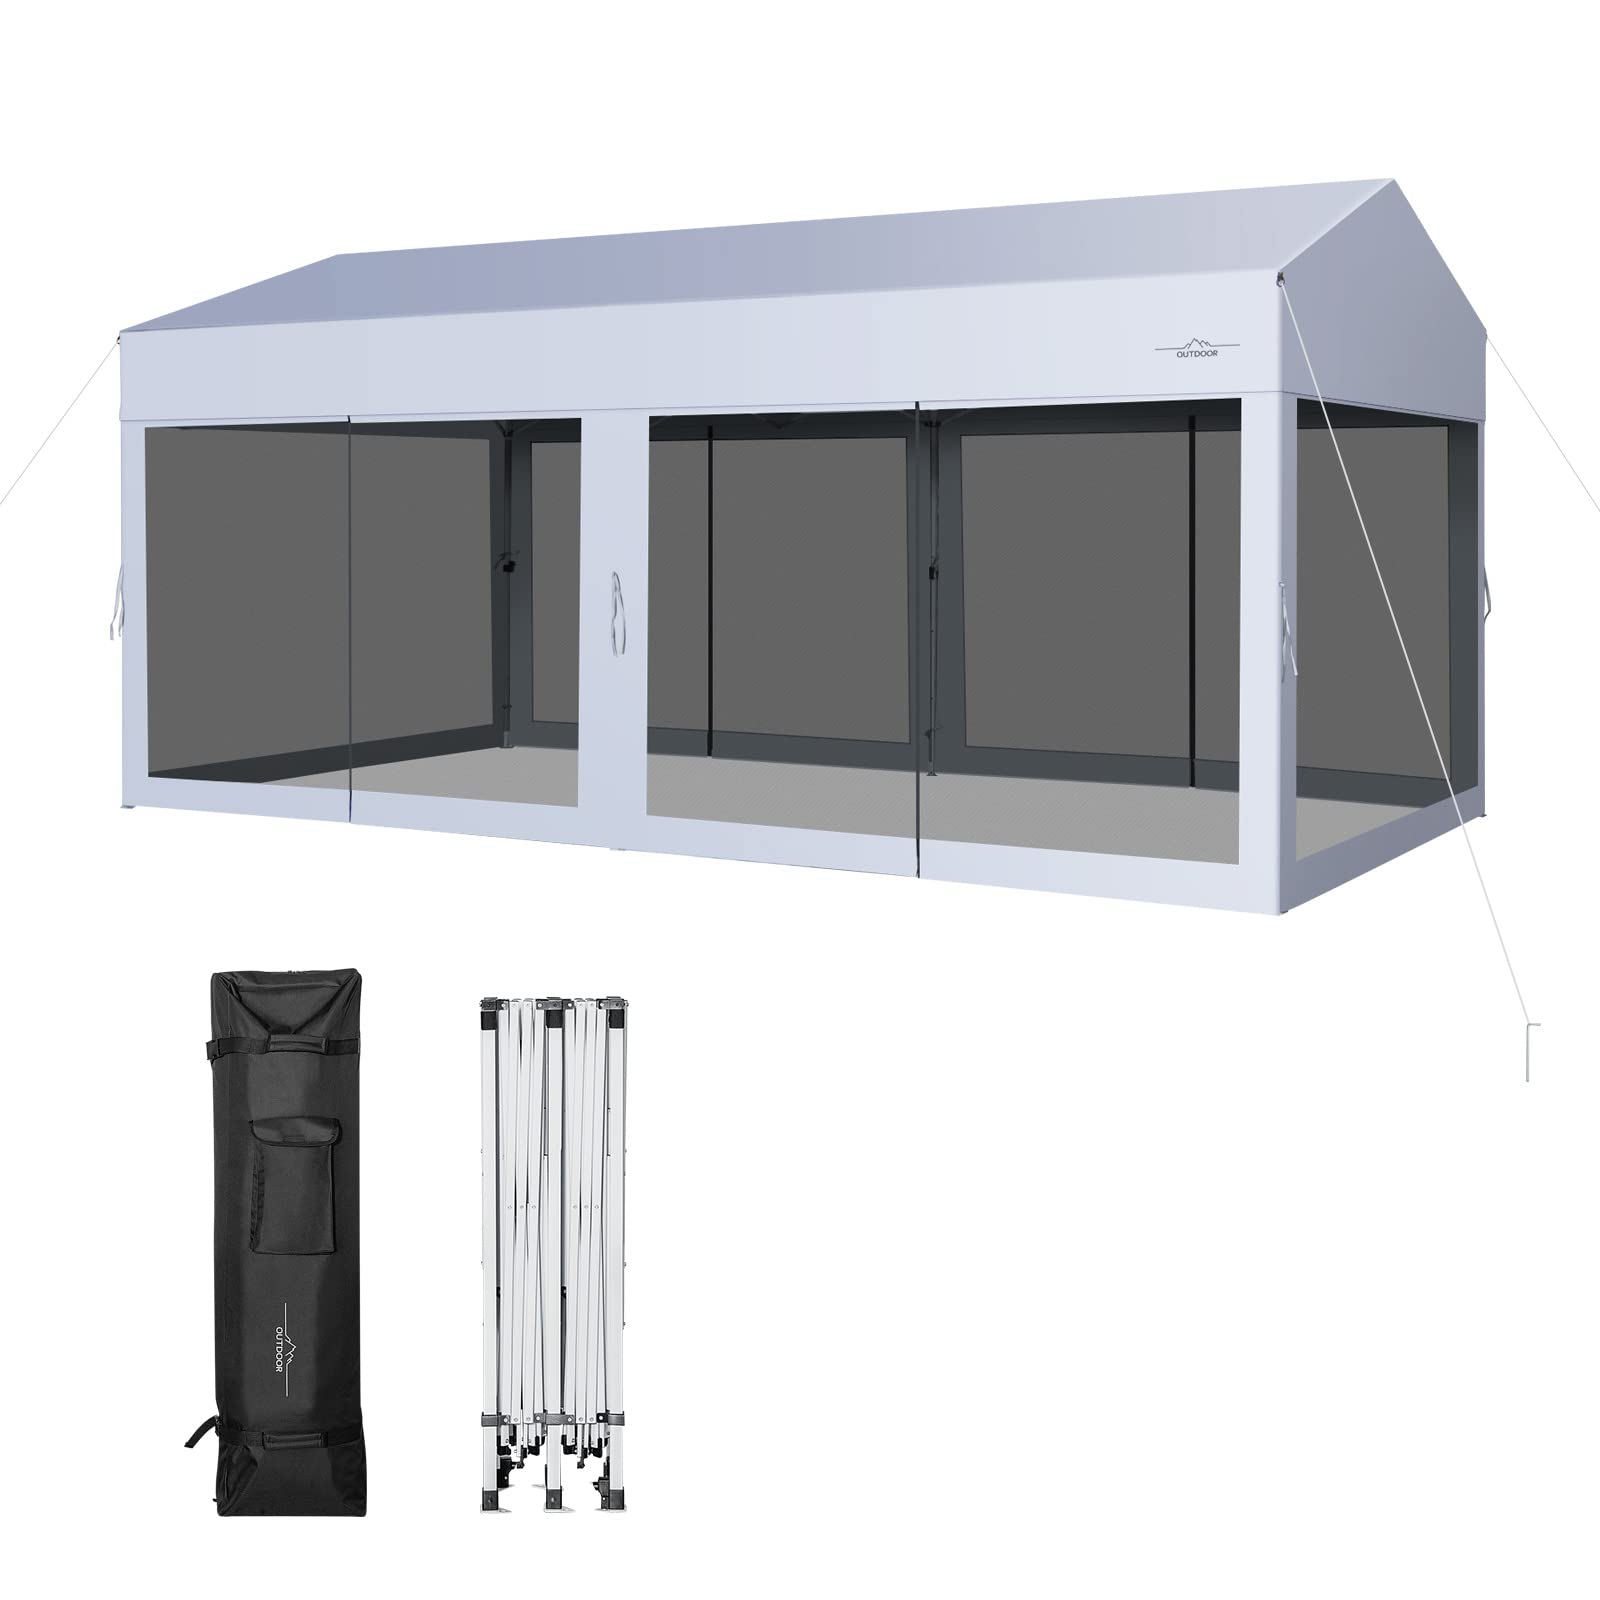
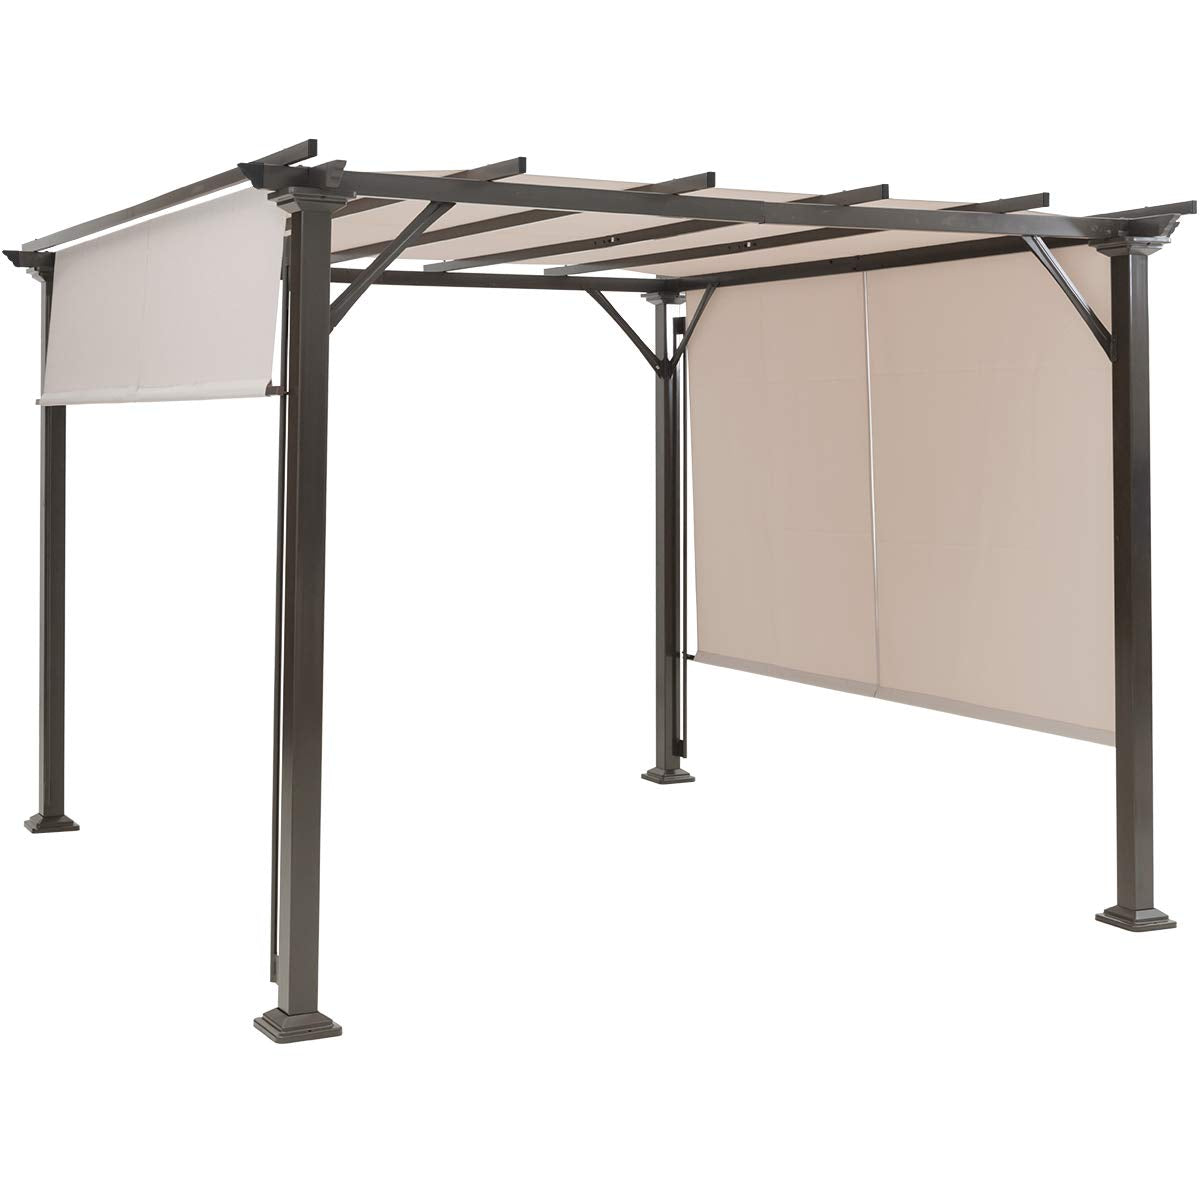
4. Assemble the Frame
Follow the manufacturer's instructions to assemble the frame. Typically, this involves connecting the frame pieces, usually made of metal or plastic. Tangkula includes manual instructions in the package or you can obtain a PDF version by contacting us.
5. Attach Canopy Fabric
Attaching the canopy fabric to the frame is a crucial step in setting up covered outdoor living spaces. The steps for attaching canopy fabric may differ based on the canopy design, but here is a basic guide.
Prepare the Frame:
- Make sure you fully assemble and position the frame in the desired location.
- If the canopy has adjustable height settings, set it to the desired height.
Lay Out the Canopy Fabric:
- Lay out the canopy fabric on the ground next to the frame.
- Labels or markings usually indicate the top side of the fabric.
Locate Attachment Points:
- Examine the frame to identify attachment points for the canopy fabric.
- The frame's edges usually have these points, which can be hooks, Velcro straps, or other attachments.
Align the Fabric:
- Align the edges of the canopy fabric with the corresponding attachment points on the frame.
- Make sure you evenly distribute the fabric across the frame.
Secure with Hooks or Straps:
- If the canopy has hooks, loop them through the attachment points on the frame and attach them to the fabric.
- If using Velcro straps, wrap them tightly around the frame to secure the fabric in place.
Tighten the Fabric:
- Once you attach the fabric, check for any slack or wrinkles.
- Tighten the fabric by adjusting the tension at the attachment points to create a taut and smooth surface.
Secure Corners and Edges:
- Pay special attention to the corners and edges of the canopy.
- Make sure you securely attach all corners and evenly distribute the fabric along the frame.
Adjustment for Zippers or Doors (if applicable):
- Ensure that the canopy doors or zippers are aligned and functioning properly.
- Follow specific instructions for attaching and securing any additional features.

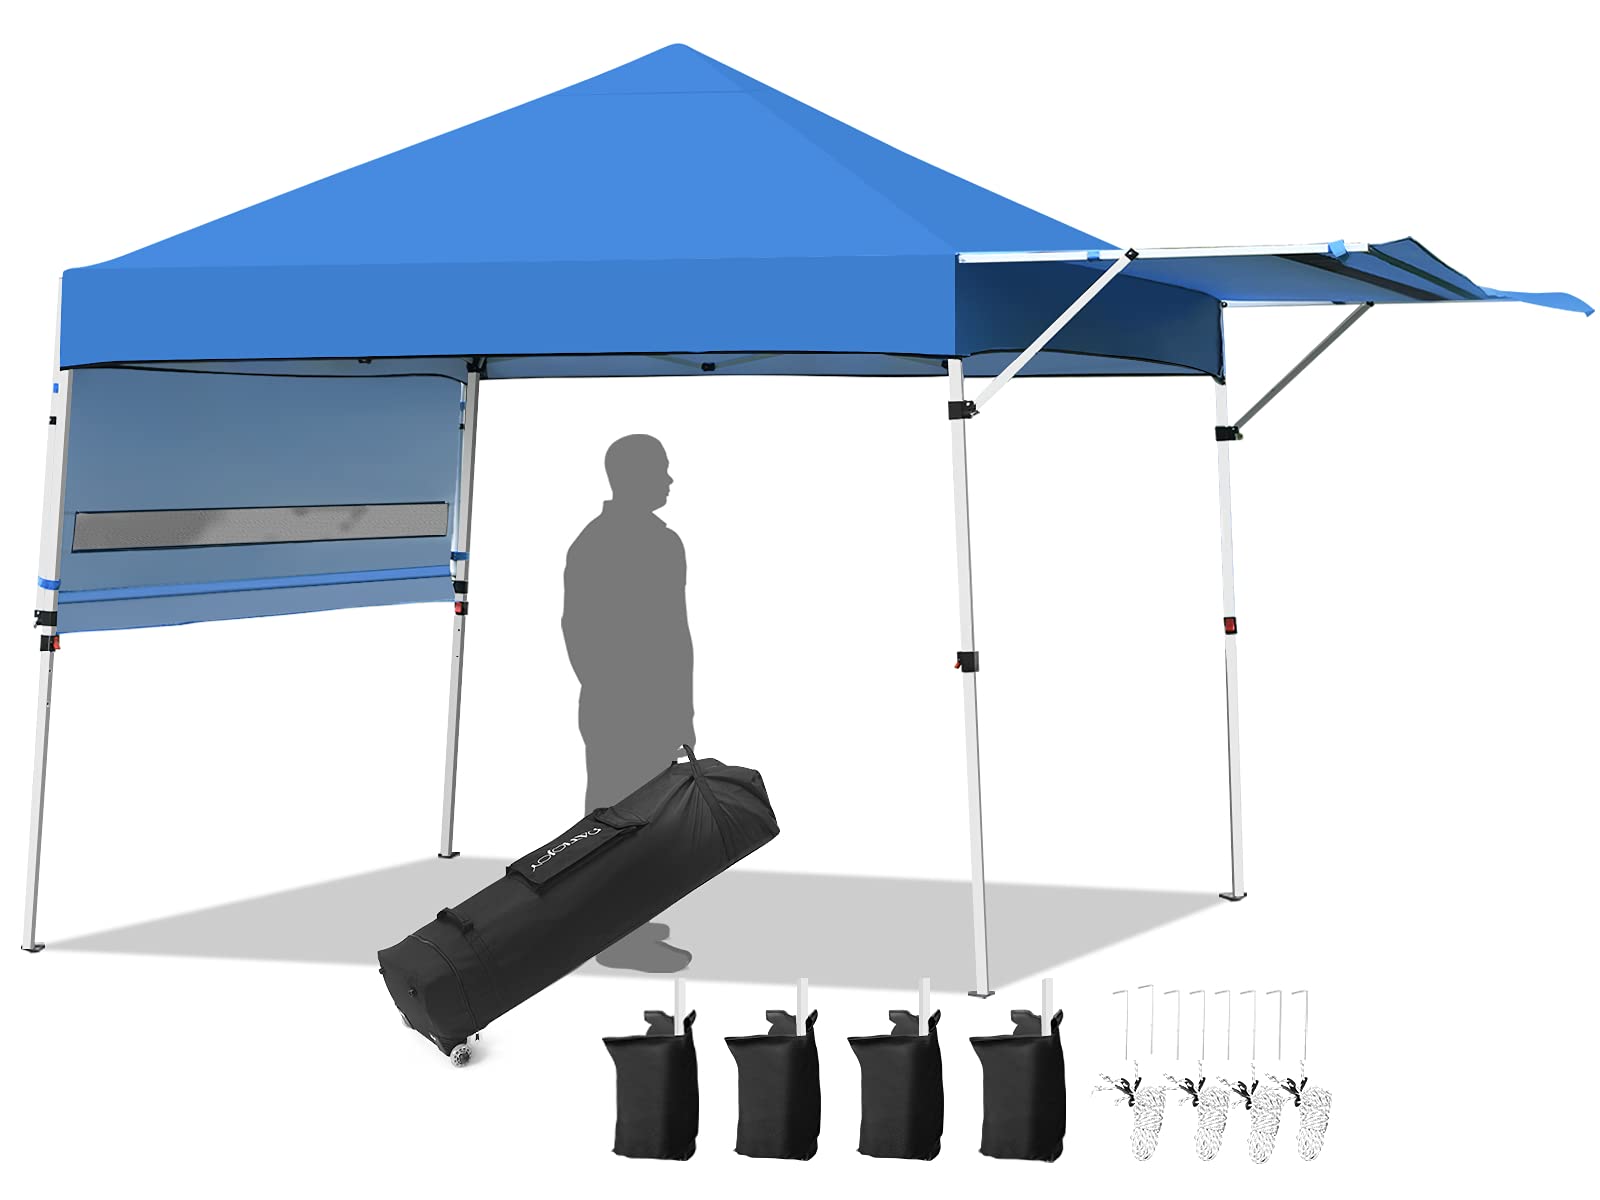
6. Secure the Canopy
Securing the canopy properly is essential to ensure stability and prevent damage, especially in windy conditions. Here's a step-by-step guide on how to secure a canopy:
Stake Installation:
- If your canopy has stakes, start by driving them into the ground at a 45-degree angle.
- Space the stakes evenly around the perimeter of the canopy, typically near each leg.
Use Sturdy Stakes:
- Choose sturdy stakes that are appropriate for the ground type.
- For soft or sandy soil, longer stakes may be necessary to provide better stability.
Stake Placement:
- Drive the stakes into the ground away from the canopy legs.
- Ensure that the stakes are firmly secured to prevent the canopy from lifting in strong winds.
Tie-Down Straps:
- If your canopy has tie-down straps, attach them to the canopy legs.
- Secure the other end of the straps to ground anchors, weights, or other secure points.
Adjustable Straps:
- If the canopy has adjustable straps, use them to achieve the desired tension.
- Avoid overtightening, as this may cause stress on the canopy fabric or frame.
Sandbags or Weights:
- If stakes are not suitable or allowed, use sandbags or weights on each canopy leg.
- Fill sandbags with sand or other heavy materials and place them securely around each leg.
Distribute Weight Evenly:
- Ensure that the weight distribution is even across all canopy legs.
- This helps maintain balance and prevents the canopy from leaning to one side.
Regularly Check and Adjust:
- Periodically check the tension of straps, stakes, or weights.
- Adjust as needed, especially after changes in weather conditions.
Avoid Wind Gusts:
- If you expect strong winds, consider temporarily taking down the canopy.
- High winds can pose a risk even with secure anchoring.
7. Adjust Height
If your canopy has adjustable height settings, choose the desired height and lock it in place.
8. Check Stability
In most cases, the hard-top gazebo is more stable than the pop up canopy. And therefore, you need to pay more attention to the safety of the canopy tents.
Visual Inspection:
- Begin by visually inspecting the entire canopy structure.
- Look for any signs of misalignment, loose connections, or damage to the frame.
Check Frame Joints:
- Inspect the joints and connections of the frame.
- Make sure you securely connect all frame pieces and there are no loose or missing parts.
Verify Canopy Fabric Attachment:
- Please confirm that you have securely attached the canopy fabric to the frame.
- Check for any loose straps, hooks, or Velcro attachments.
Examine Canopy Legs:
- Inspect each canopy leg for stability.
- Make sure you firmly plant all legs on the ground and there are no signs of leaning or tilting.
Inspect Stakes:
- If you have used stakes to secure the canopy, make sure you drive them into the ground at the correct angle.
- Ensure that the stakes are holding the canopy in place and are not loose.
Evaluate Weight Distribution:
- If using sandbags or weights, evaluate the distribution of weight around the canopy.
- Make sure you evenly place the weights on each leg.
Check for Uneven Canopy Height:
- If your canopy has adjustable height settings, make sure you set all legs to the same height.
- An uneven canopy may compromise stability.
Consider Wind Conditions:
- Take into account the current and expected wind conditions.
- If you anticipate strong winds, consider temporarily taking down the canopy to prevent damage.
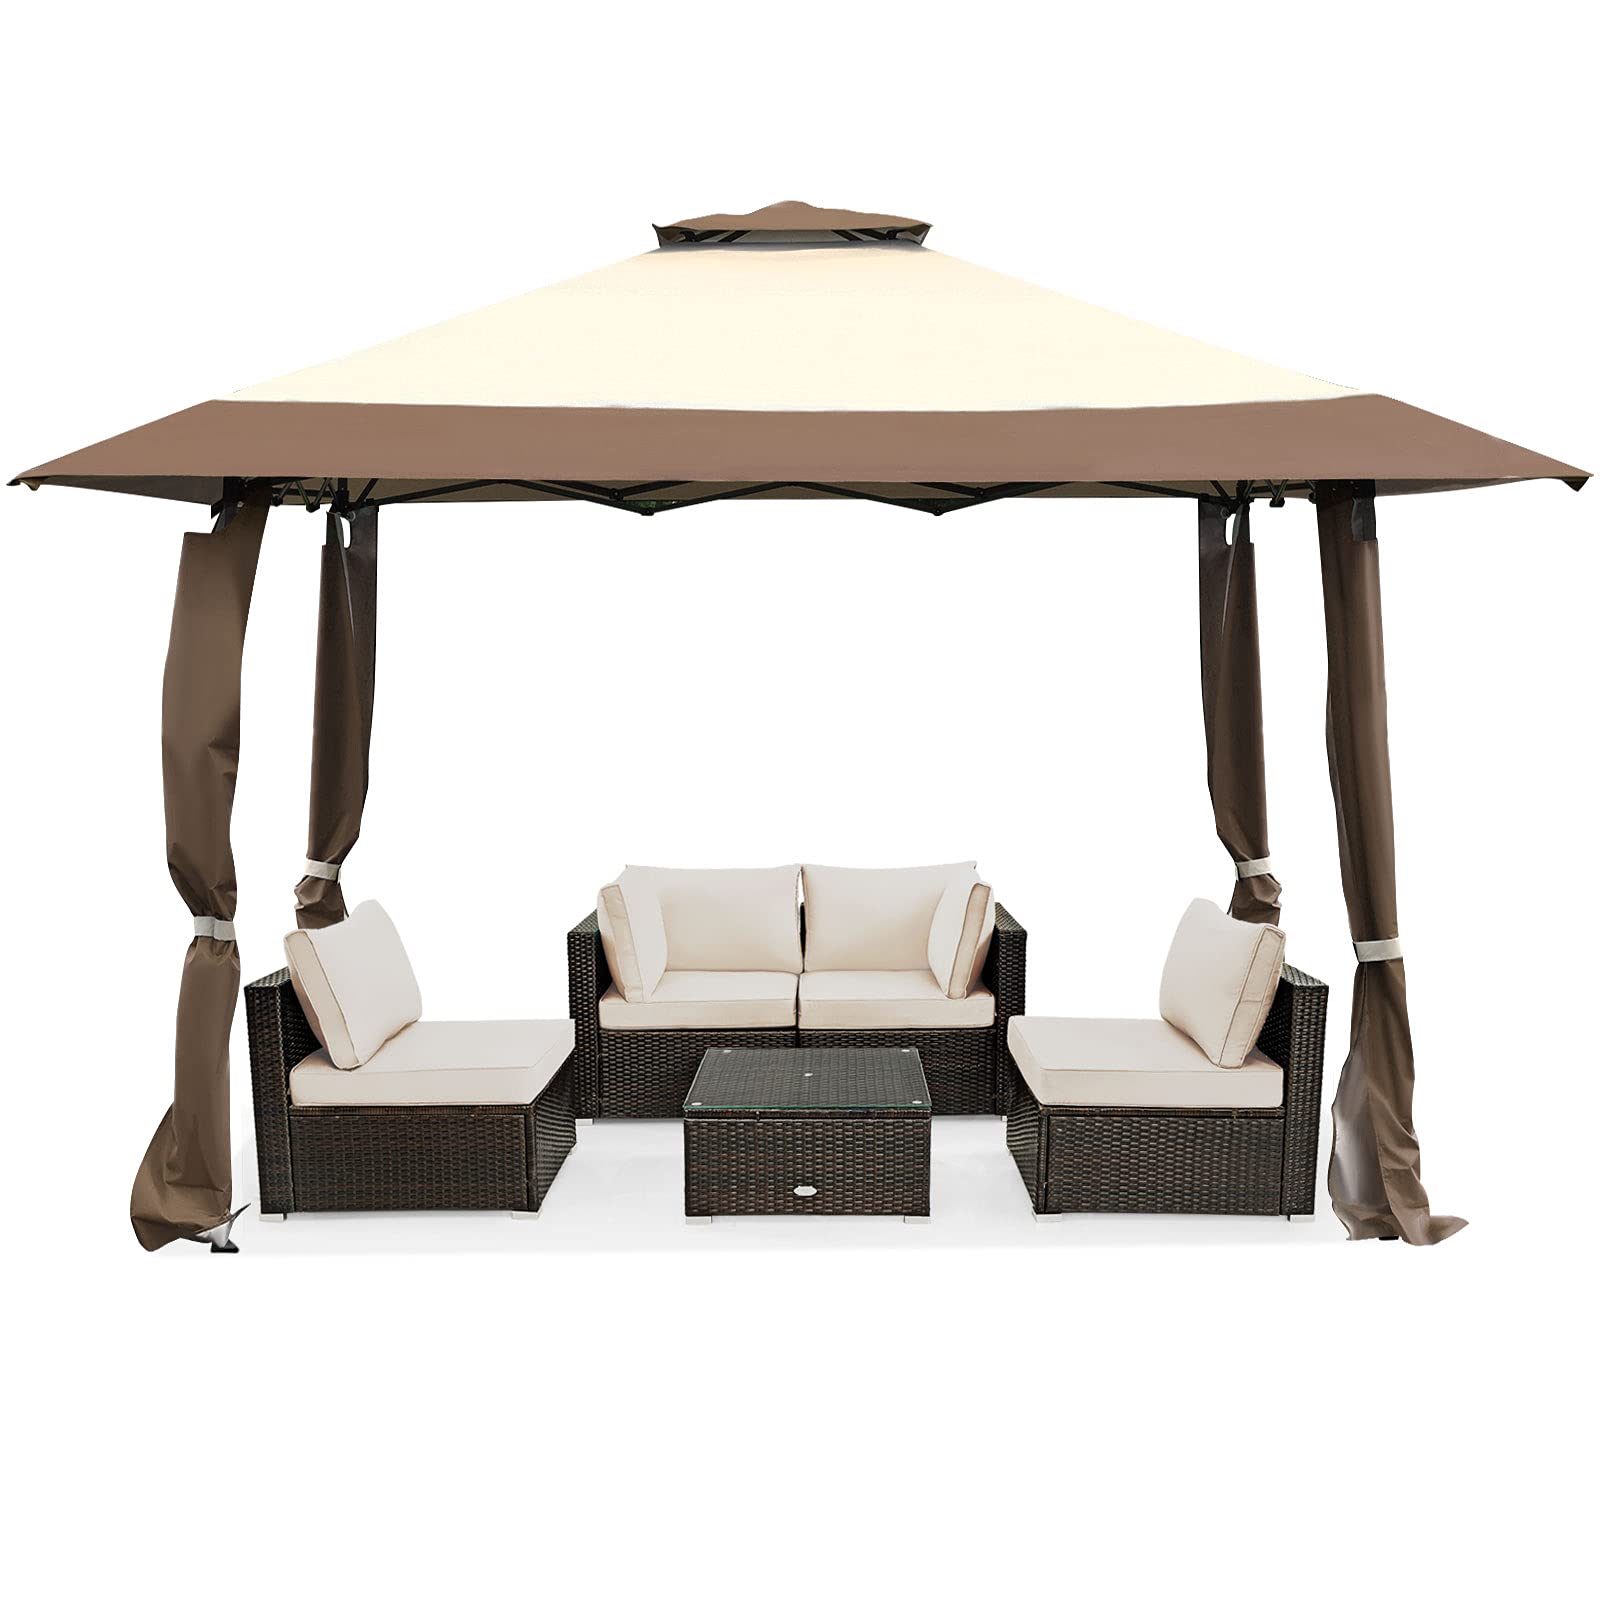
9. Add Optional Accessories
Adding optional accessories to your canopy can enhance its functionality and create a more comfortable outdoor space. The process may vary depending on the specific accessories and the design of your canopy. Here's a general guide on what to add optional accessories to your canopy:
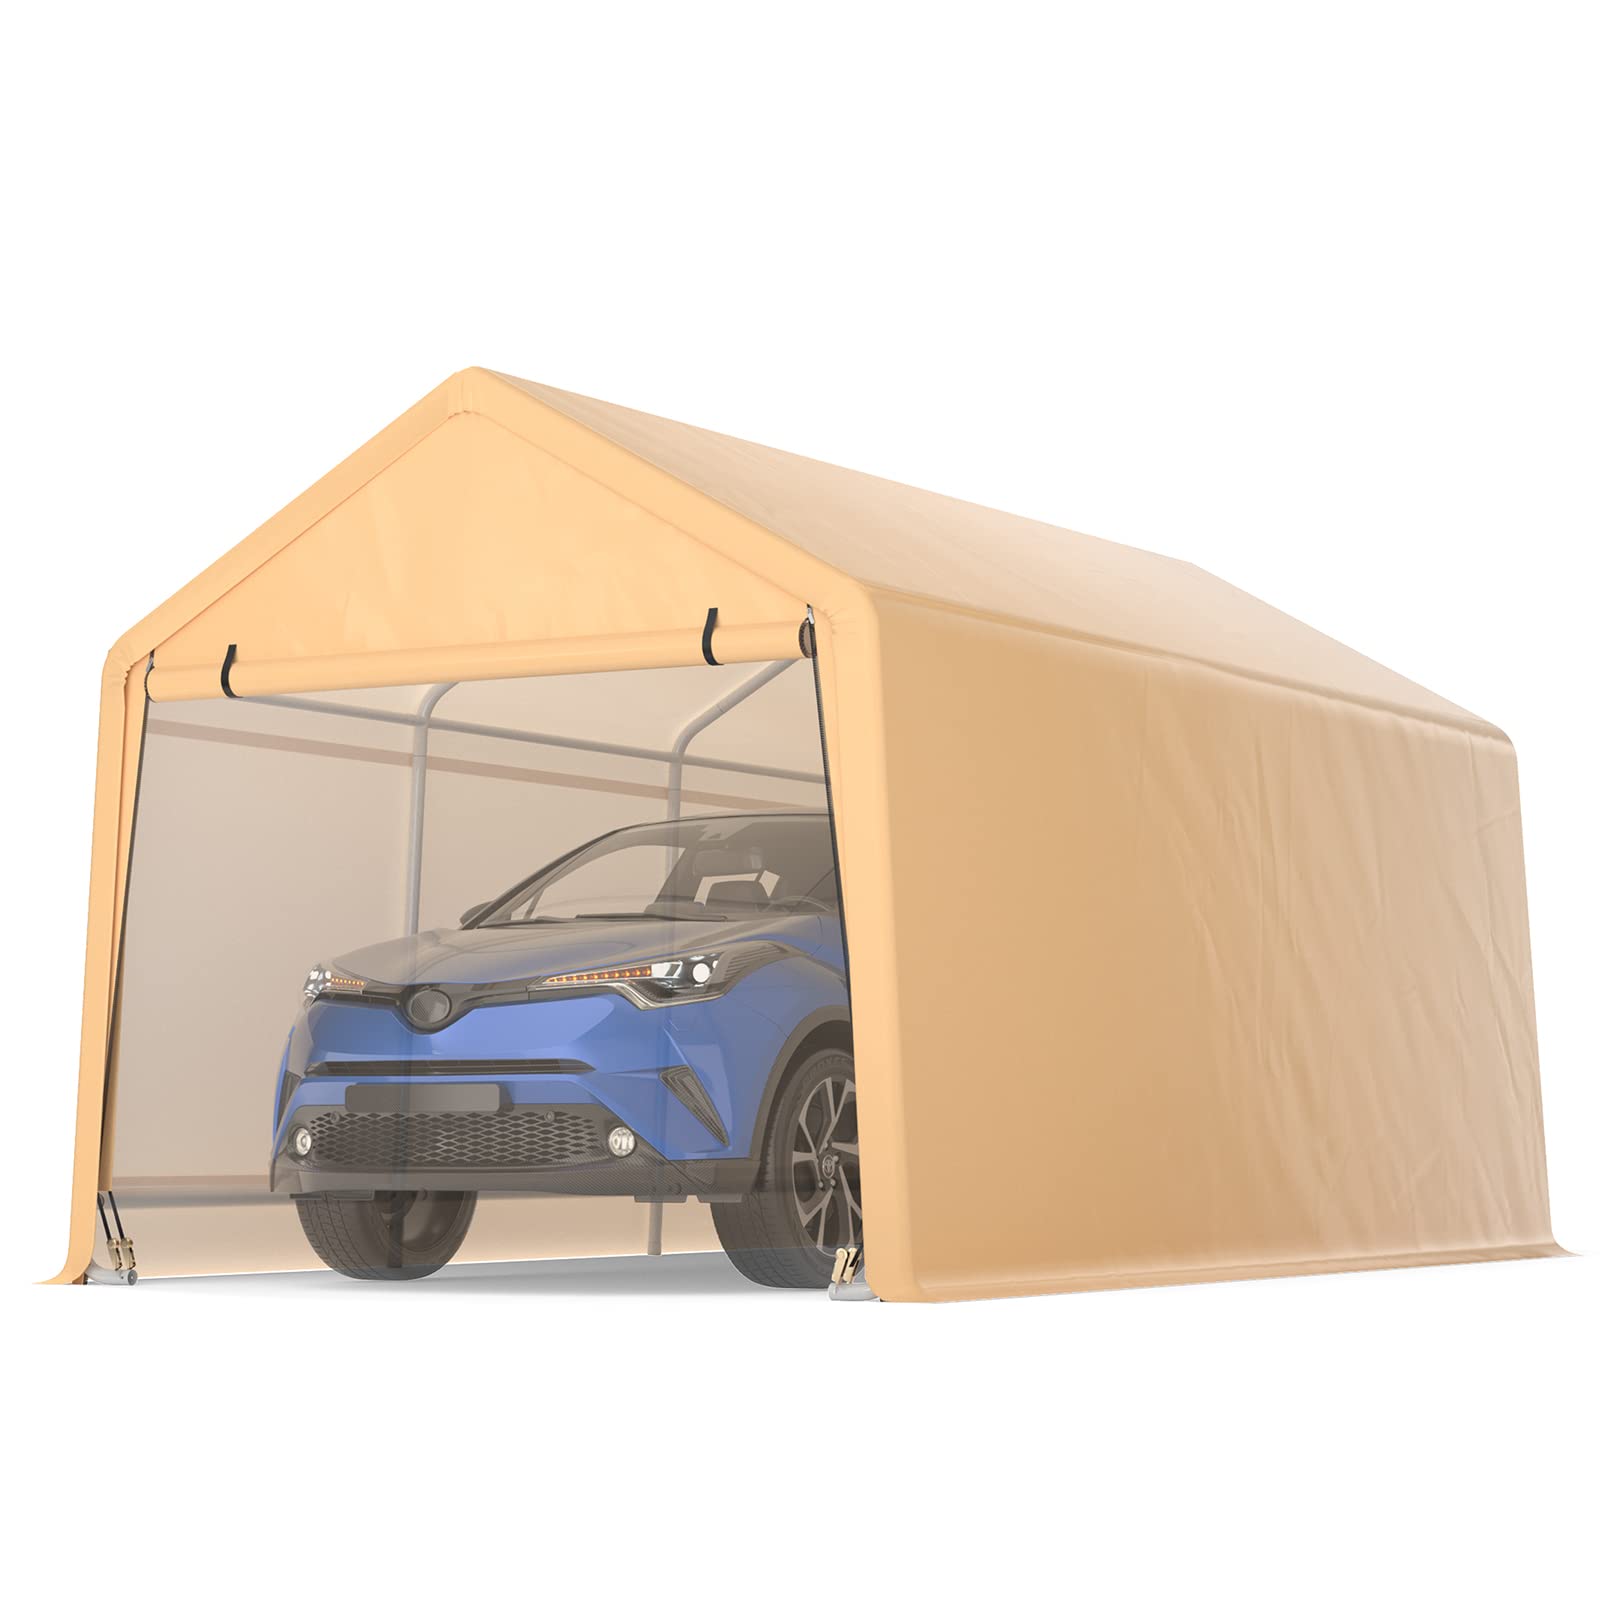
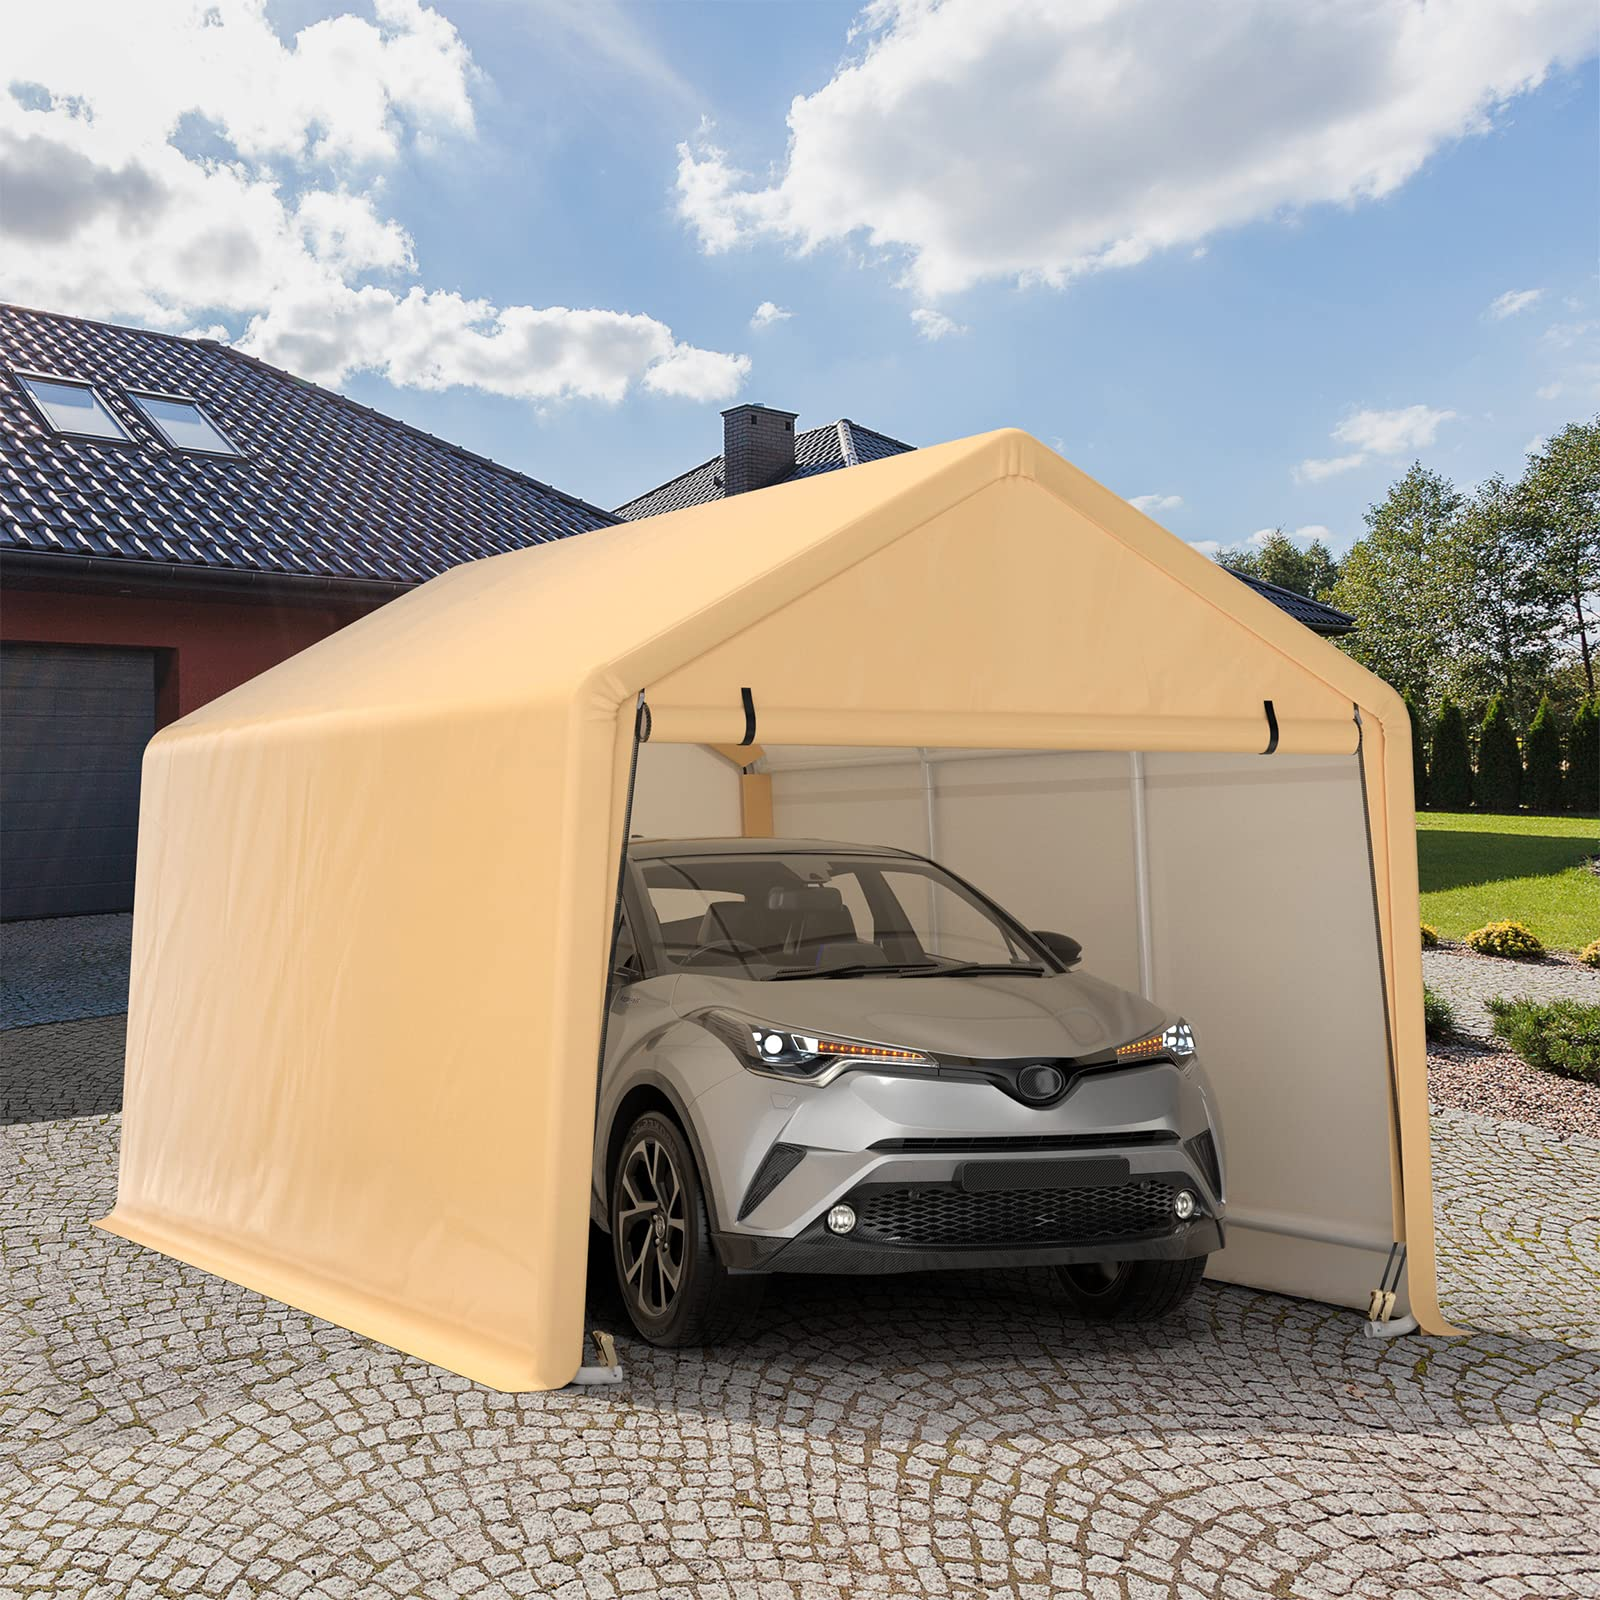
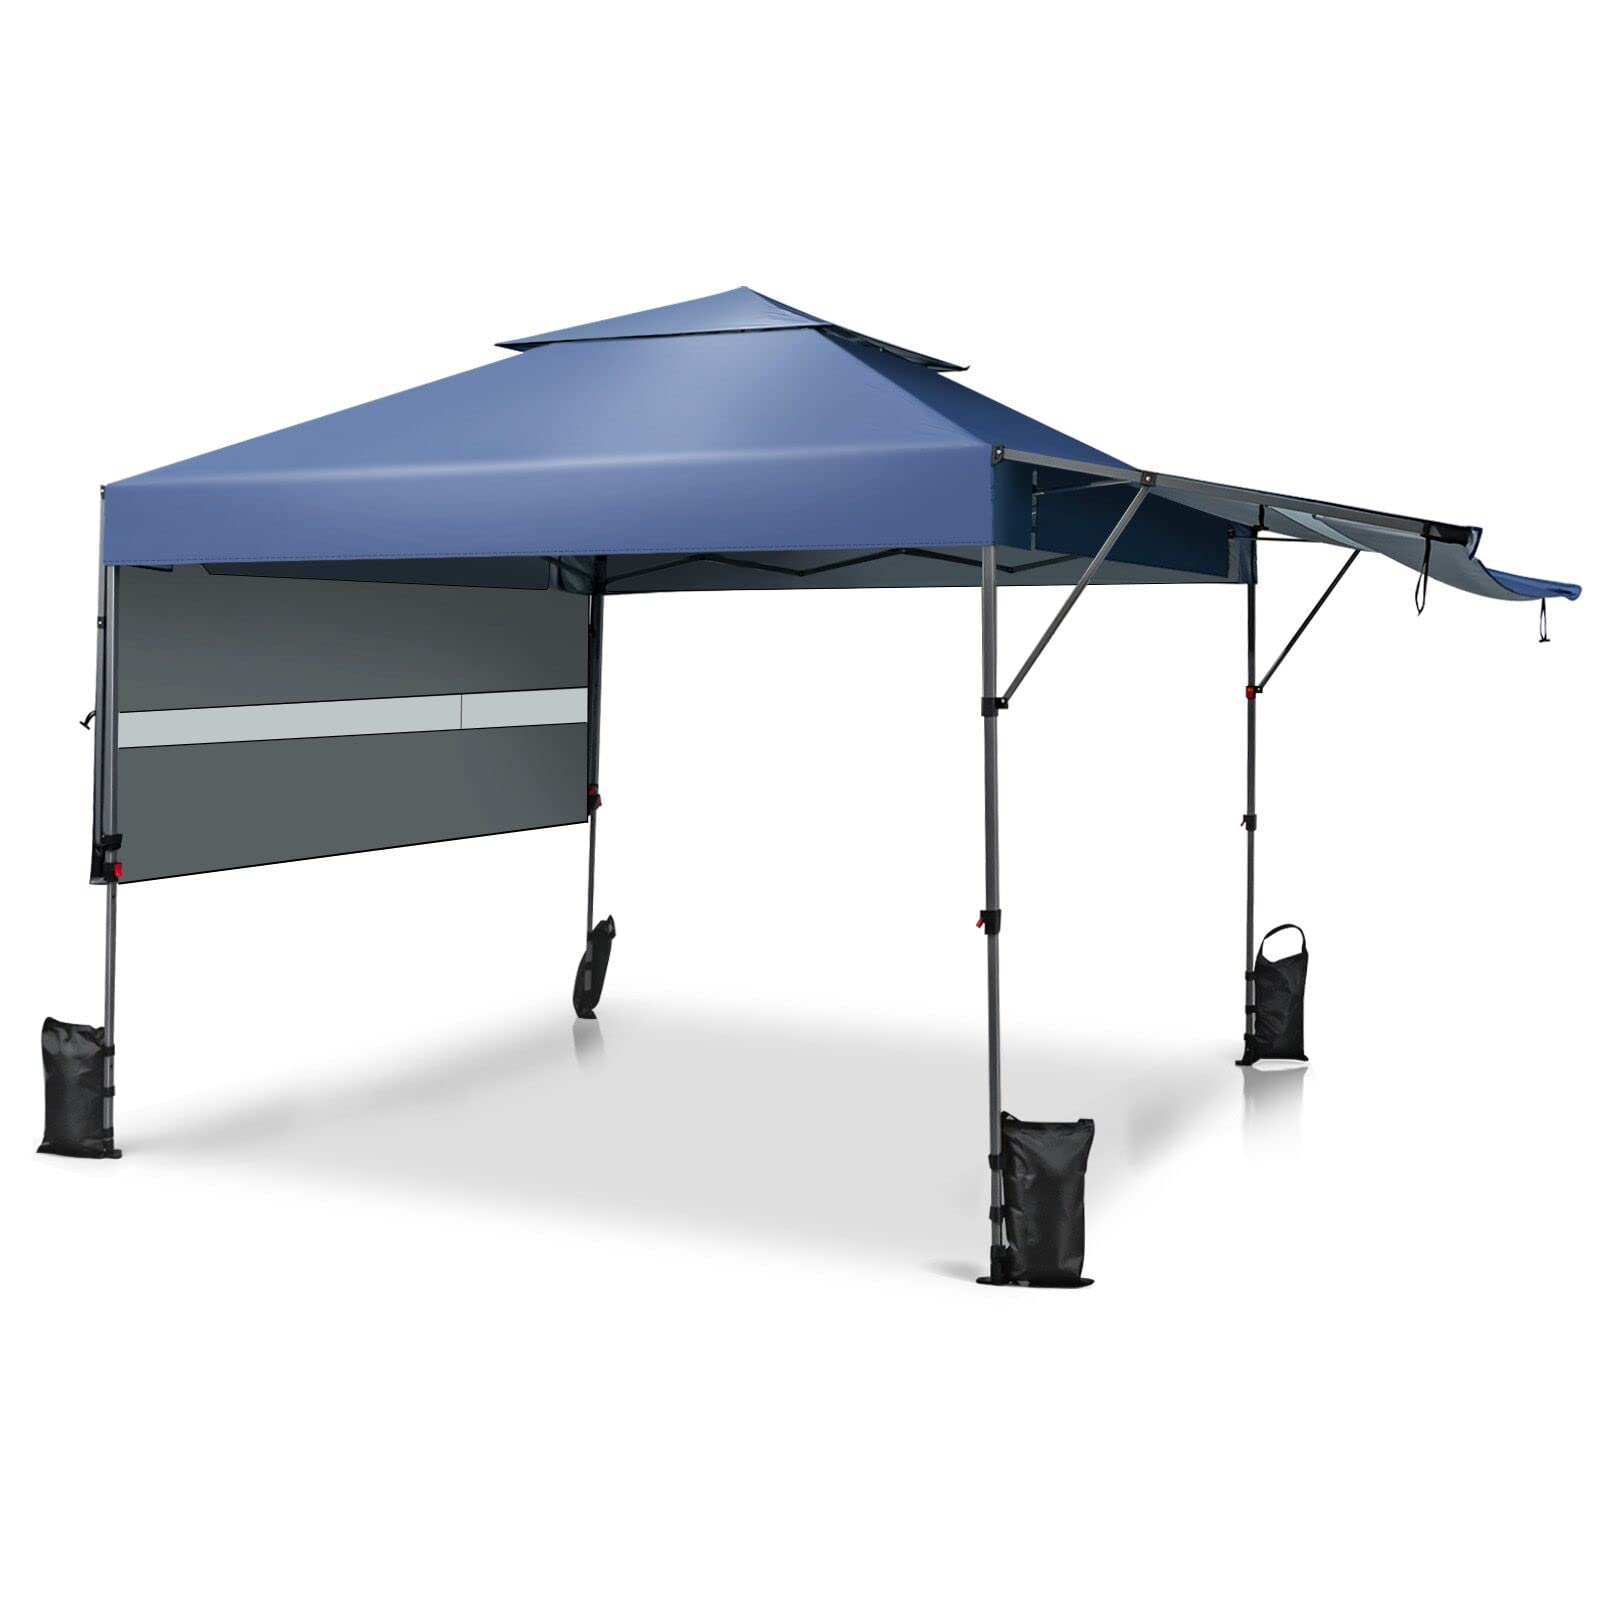
Sidewalls:
- If adding sidewalls, attach them to the canopy frame according to the instructions.
- Some sidewalls may have zipper or Velcro attachments, while others may use hooks or straps.
Mosquito Nets or Screens:
- Install mosquito nets or screens by securing them to the canopy frame.
- Follow the provided instructions for attaching and securing the nets.
Lighting:
- If your canopy has lighting accessories, follow the instructions for installation.
- Attach lights securely to the frame, and ensure that you safely route the wiring.
Rain Gutters:
Attach rain gutters, if applicable, to channel rainwater away from the canopy.
Ensure a secure fit and proper alignment with the canopy frame.
Weight Bags:
- If using weight bags for additional stability, place them on each canopy leg.
- Fill the bags with the recommended amount of weight, such as sand or gravel.
Adjustment and Positioning:
- Adjust the accessories to your desired position.
- Ensure that they do not interfere with the stability or functionality of the canopy.
Secure Connections:
- Ensure that you securely fasten all connections, including hooks, straps, zippers, or other mechanisms.
- Confirm that the accessories are stable and won't pose a safety risk.
10. Enjoy Your Canopy
Once you set up and secure everything, you can now enjoy your canopy. Use it for shade during outdoor events, picnics, or any other activities.
To assemble it correctly, follow the instructions provided by the canopy maker. The steps may differ depending on the model and design.
Tangkula is willing to help you build a comfortable and fun outdoor living for you! If you plan to buy some living spaces outdoor furniture, Tangkula is always here to help.